Setup Cloud SQL
In this section you will create a Cloud SQL (MySQL) database instance, add a user, seed it with sample data from the repository's SQL dump file, and copy the connection details you will need later.
Step 1: Enable the Cloud SQL API
-
Navigate to Cloud SQL: https://console.cloud.google.com/sql/instances
-
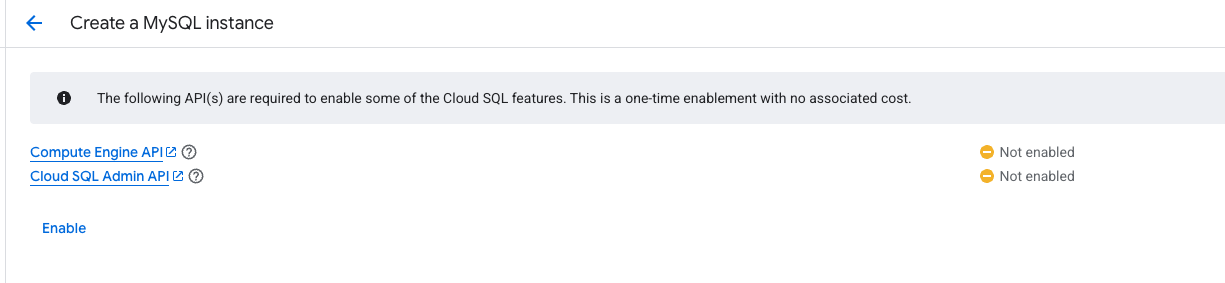
If prompted, click Enable to activate the Cloud SQL Admin API.
Step 2: Create the Instance
-
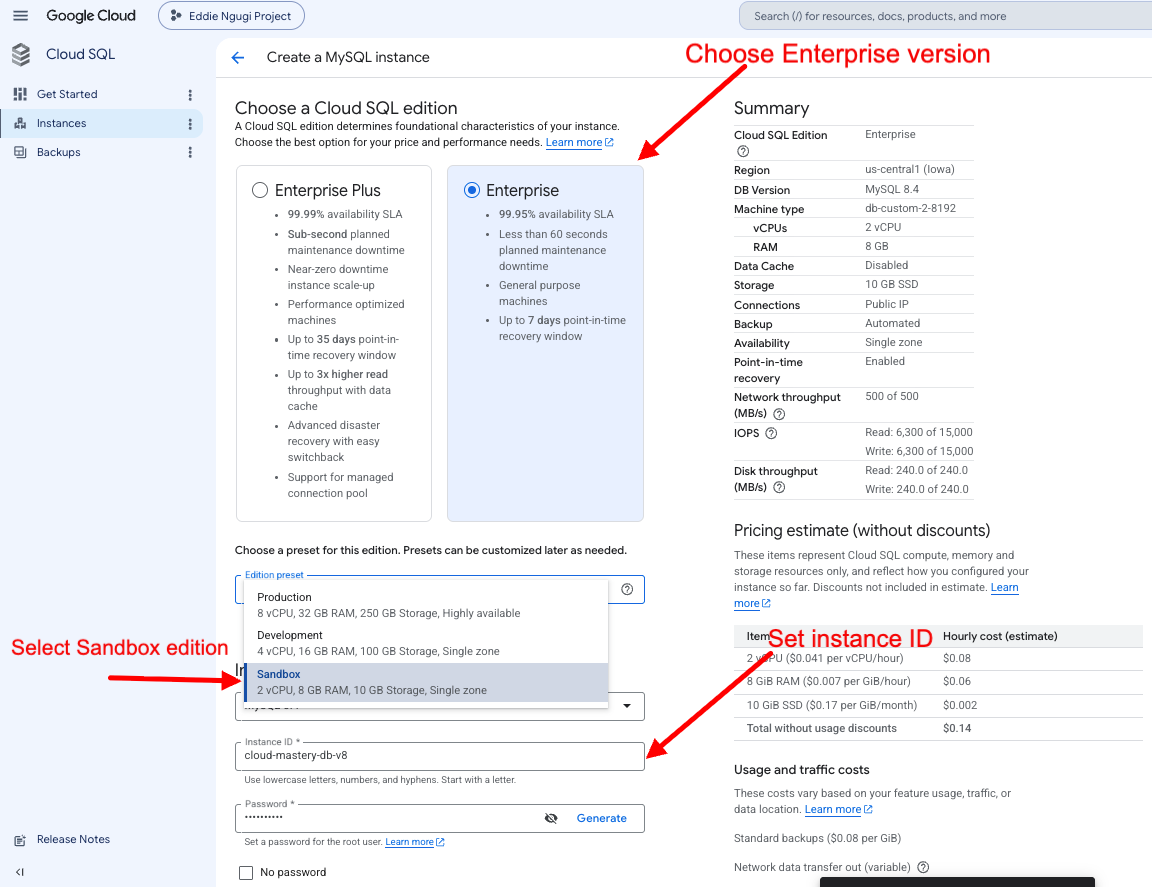
Click Create instance.
-
Choose MySQL as the database engine.
-
If prompted to enable the Compute Engine API, click Enable.
-
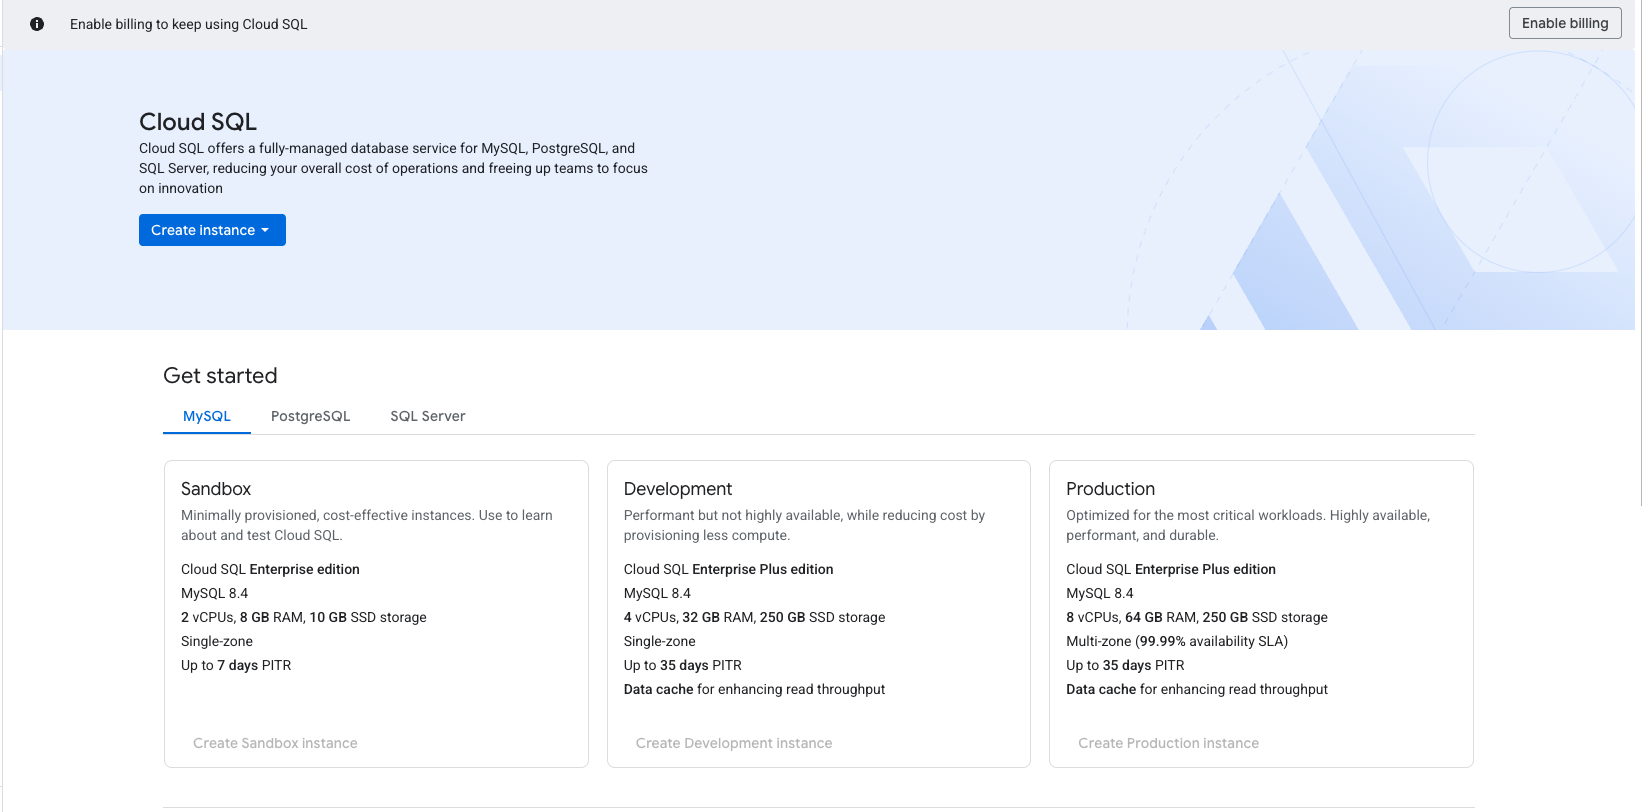
Configure the instance with these settings:
Setting Value Edition Enterprise Edition preset Sandbox Database version MySQL 8.4 Instance ID cloud-mastery-db-v8Root password Set a password and note it down Region us-central1Zonal availability Single zone -
Click Create instance to begin provisioning (this takes a few minutes).
-
Once complete you will see your running instance in the list.
Step 3: Add a Database User
-
In the left sidebar of your Cloud SQL instance, click Users, then click Add user account.
-
In the side panel that opens, select Built-in Authentication and fill in:
Field Value Username Cloud_MasteryPassword Mastery_Cloud1 -
Click Add to save.
Step 4: Create a Cloud Storage Bucket for the SQL Dump
You will upload the SQL seed file to Cloud Storage so that Cloud SQL can import it.
-
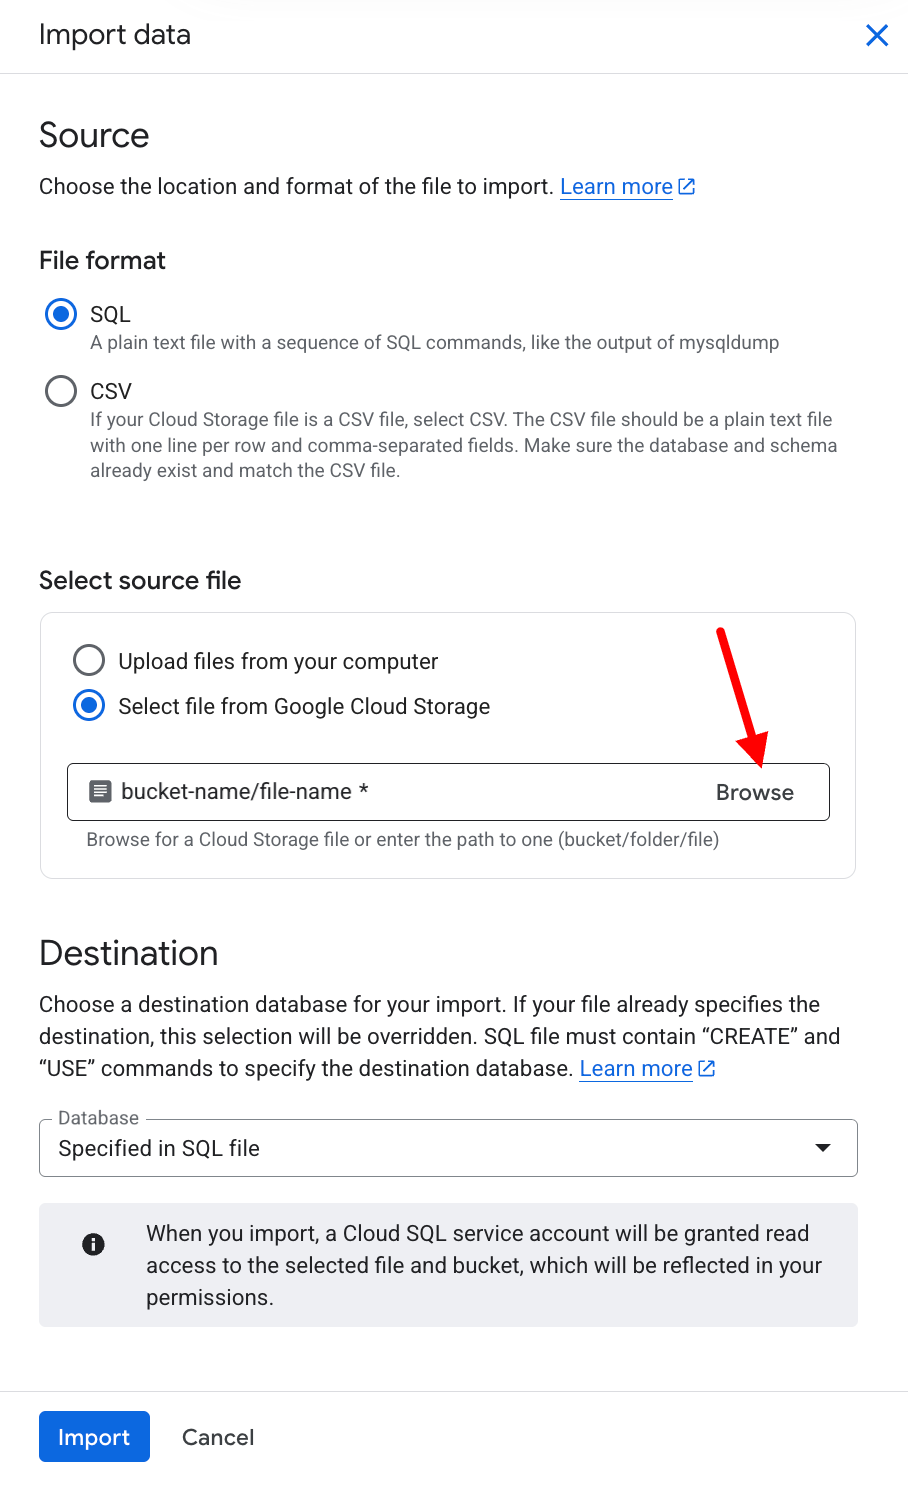
In your instance's overview page click Import data, then click Browse under Select source file.
-
In the file browser, click the Create bucket icon in the top-right corner.
-
Give the bucket a unique name (e.g.,
cloud-mastery-pawait) and select regionus-central1.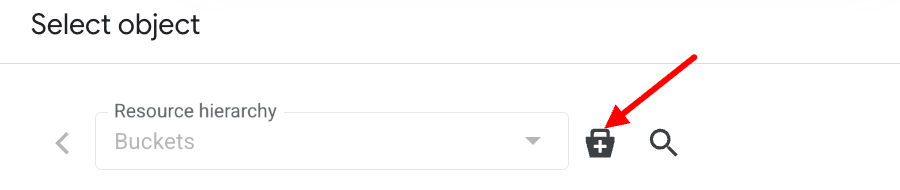
-
Before finalising, uncheck "Enforce public access prevention on this bucket" so Cloud SQL can read from it.
-
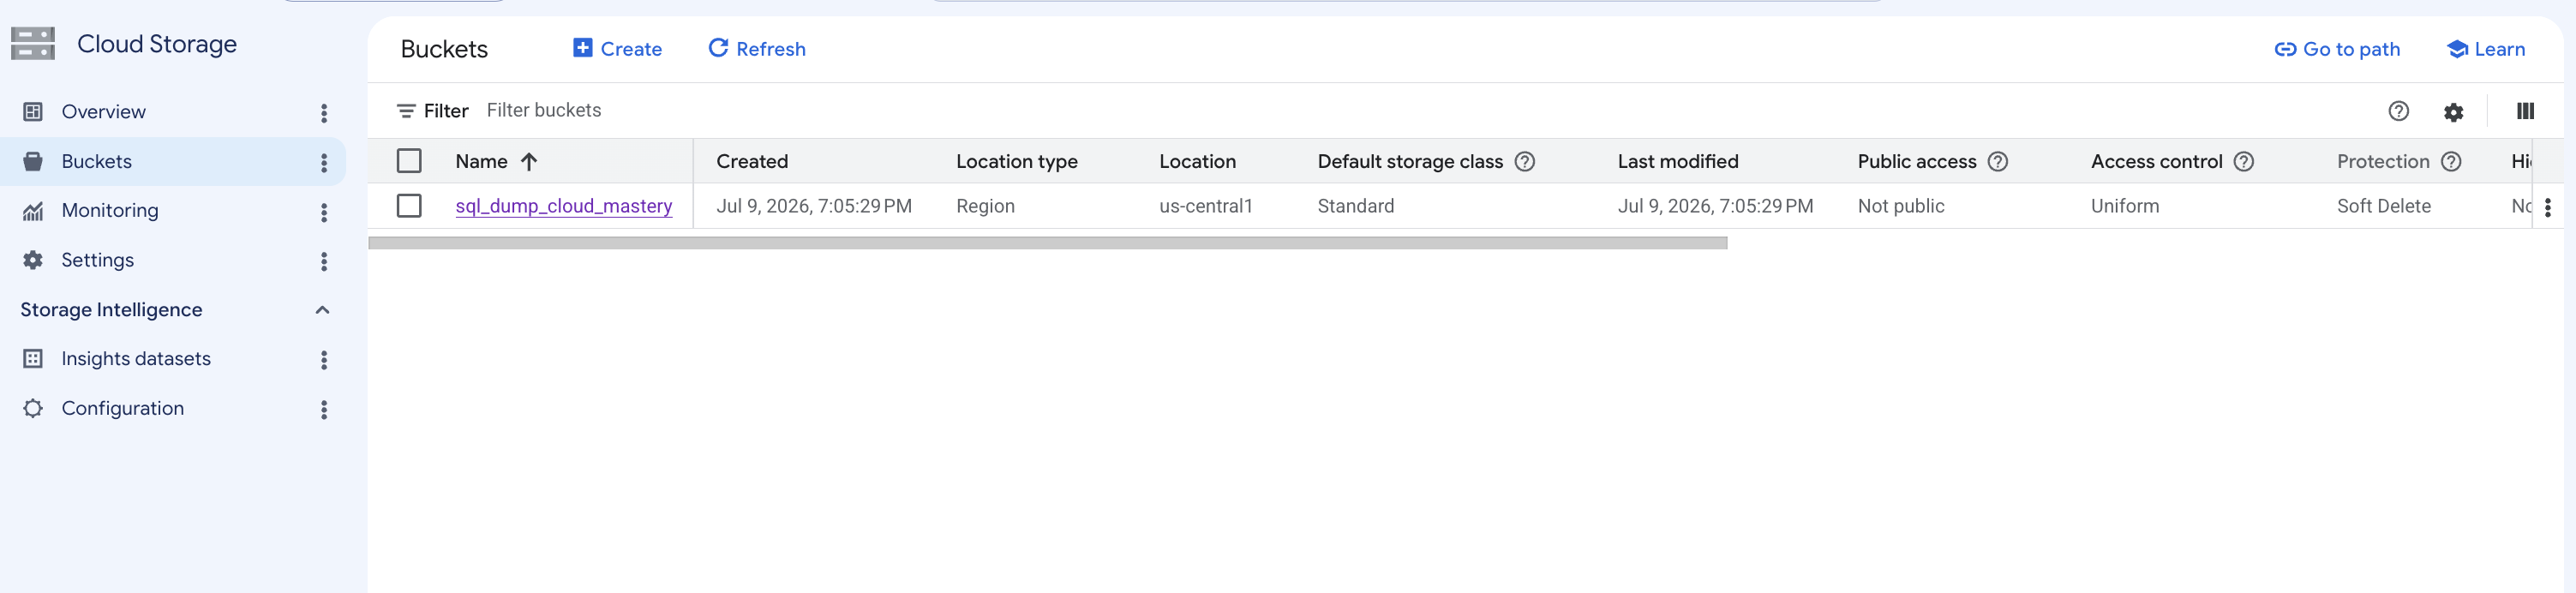
Click Create.
Step 5: Upload the SQL Dump File
-
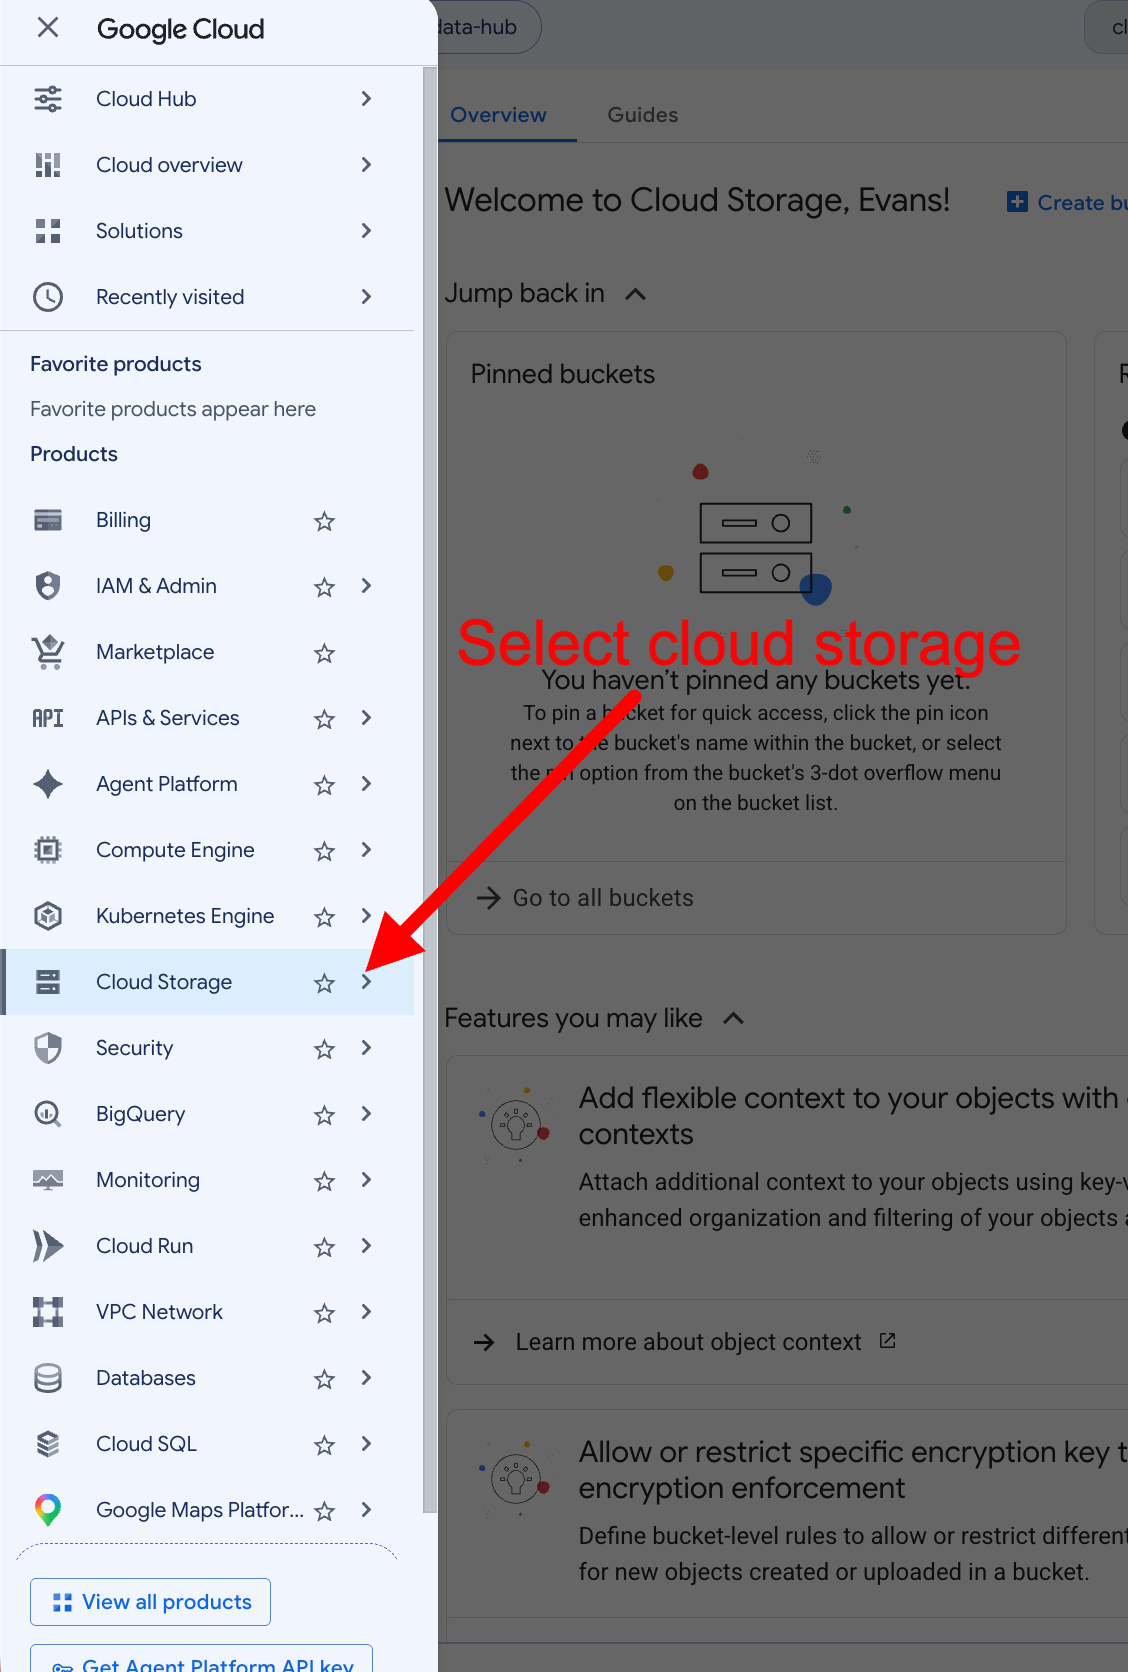
Navigate to Cloud Storage → Buckets and open the bucket you just created.
-
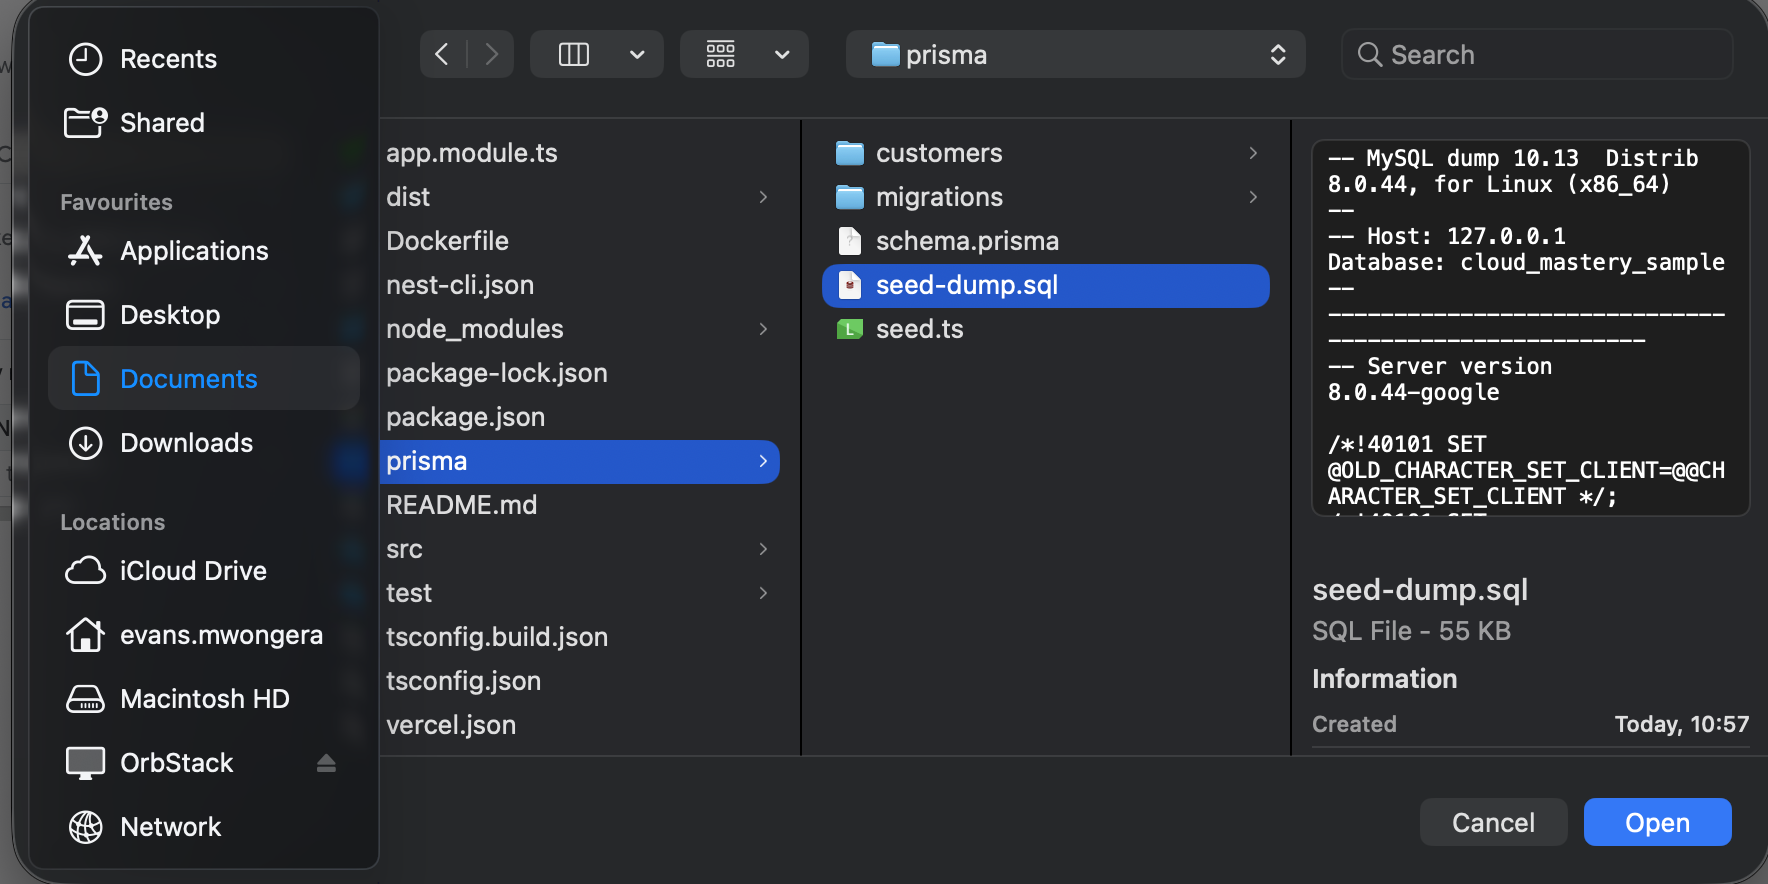
Click Upload → Choose files and locate the SQL dump from the cloned repository:
-
Select the file and confirm the upload. You will see
sql-dump.sqlappear in the bucket.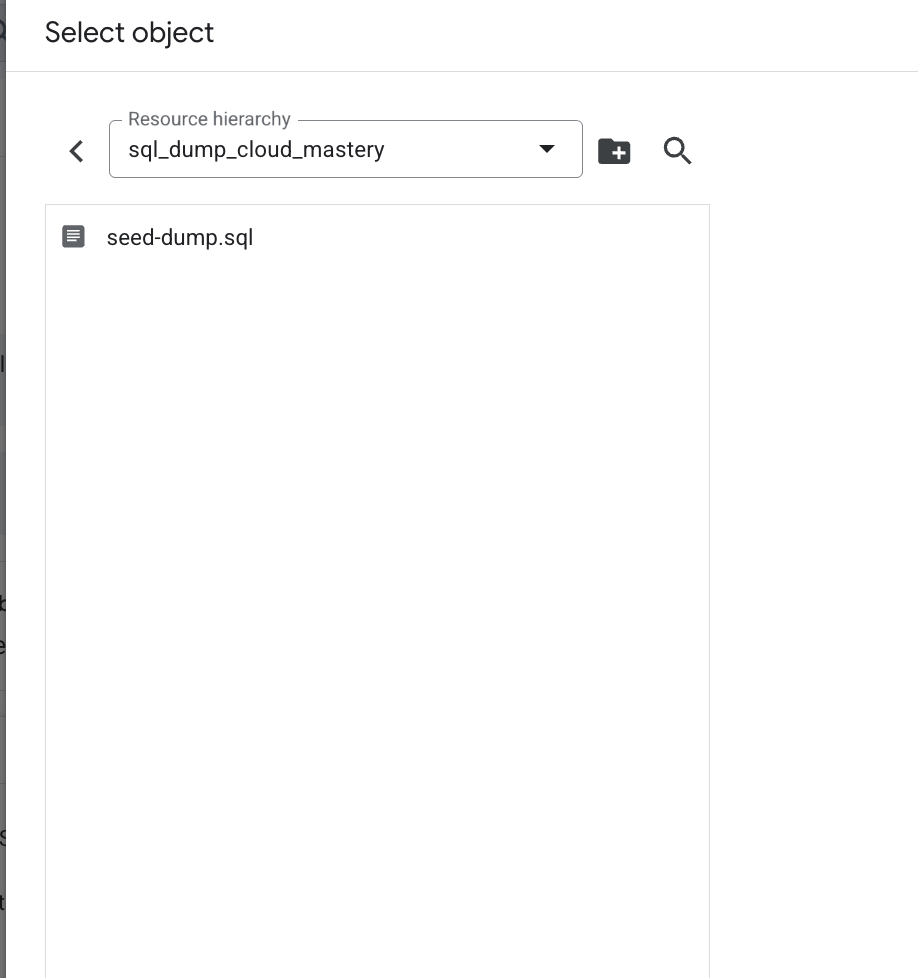
Step 6: Import the SQL Dump into Cloud SQL
-
Go back to your Cloud SQL instance and click Import data.
-
Under Source, set the file type to SQL, click Browse, and select the
sql-dump.sqlfile from your bucket. -
Under Destination, expand the Database dropdown and select
cloud_mastery_sample. -
Click Import to start. You will be returned to the instance overview while the import runs.
Step 7: Verify the Database
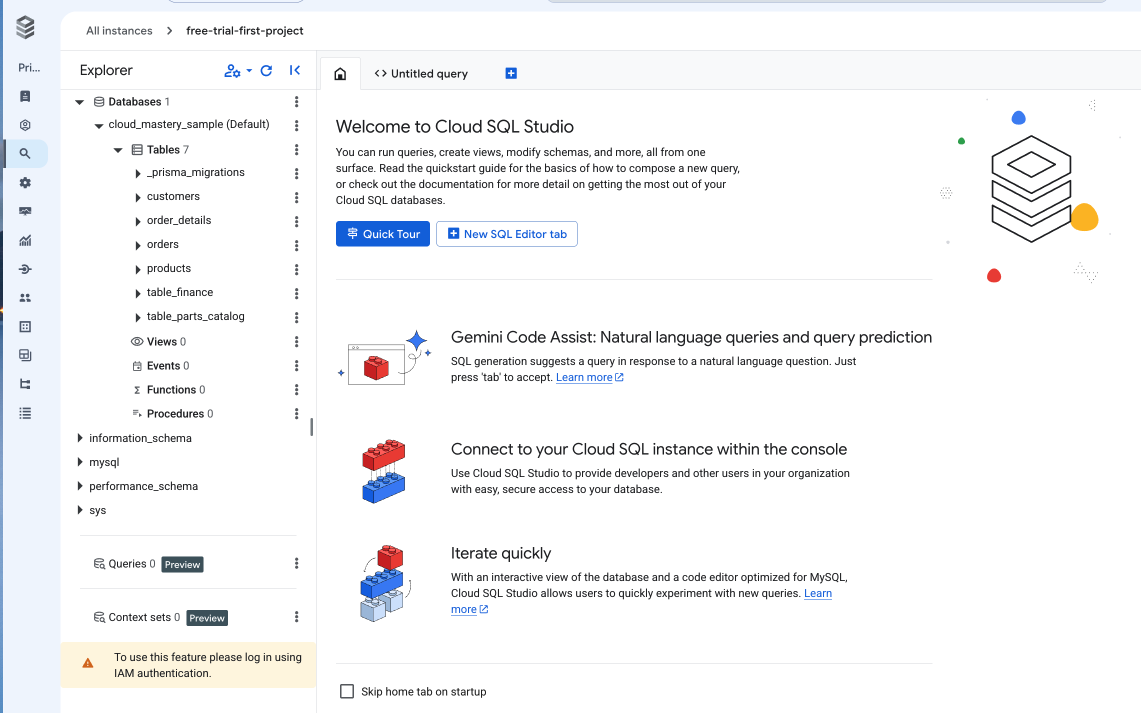
Once the import completes you can confirm the tables were created using Cloud SQL Studio.
-
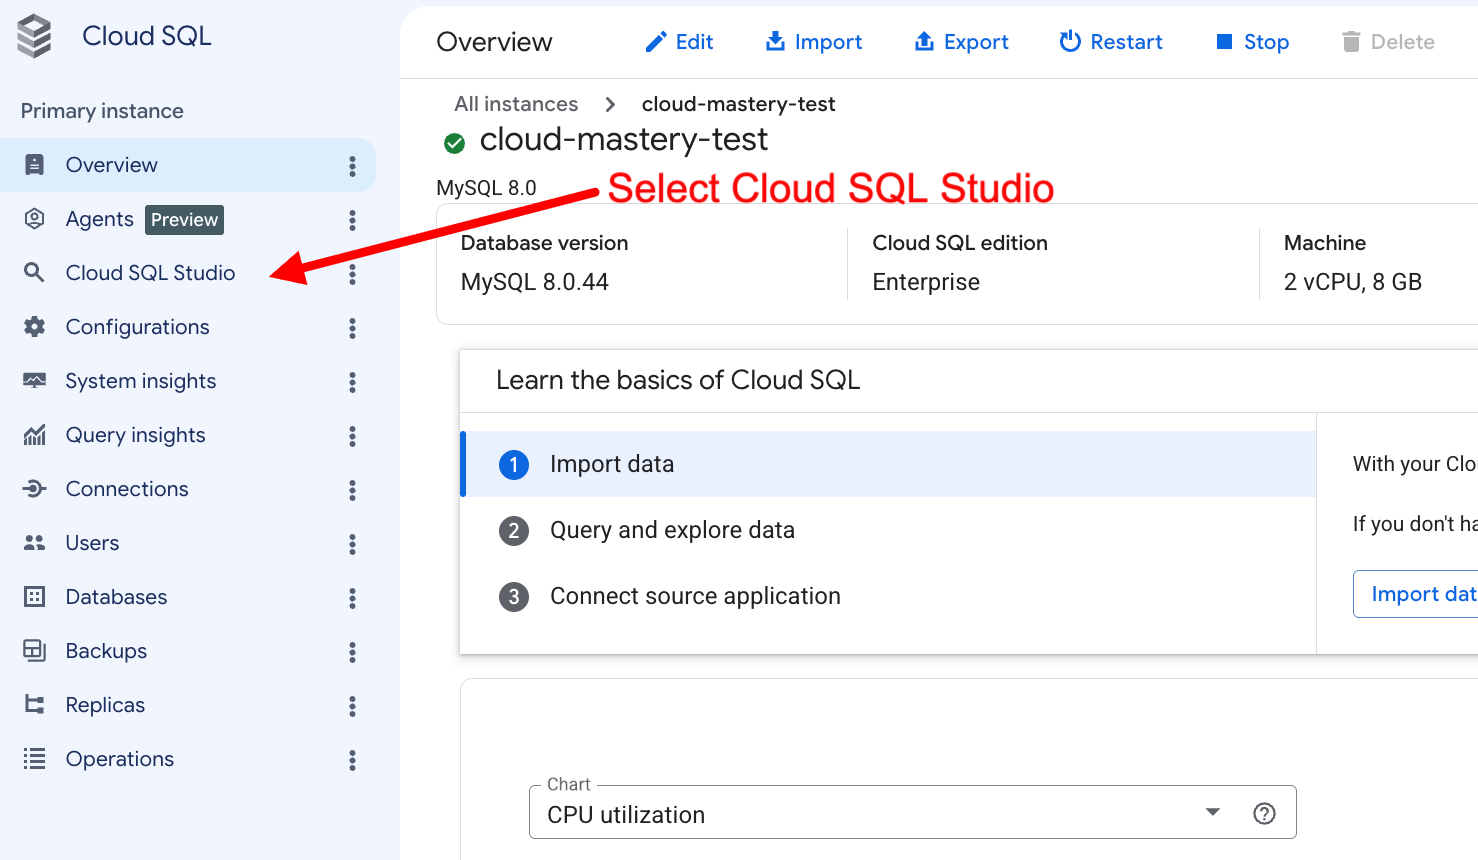
In your instance details, click Cloud SQL Studio.
-
Select the
cloud_mastery_sampledatabase, enter your username (Cloud_Mastery) and password (Mastery_Cloud1), and click Authenticate.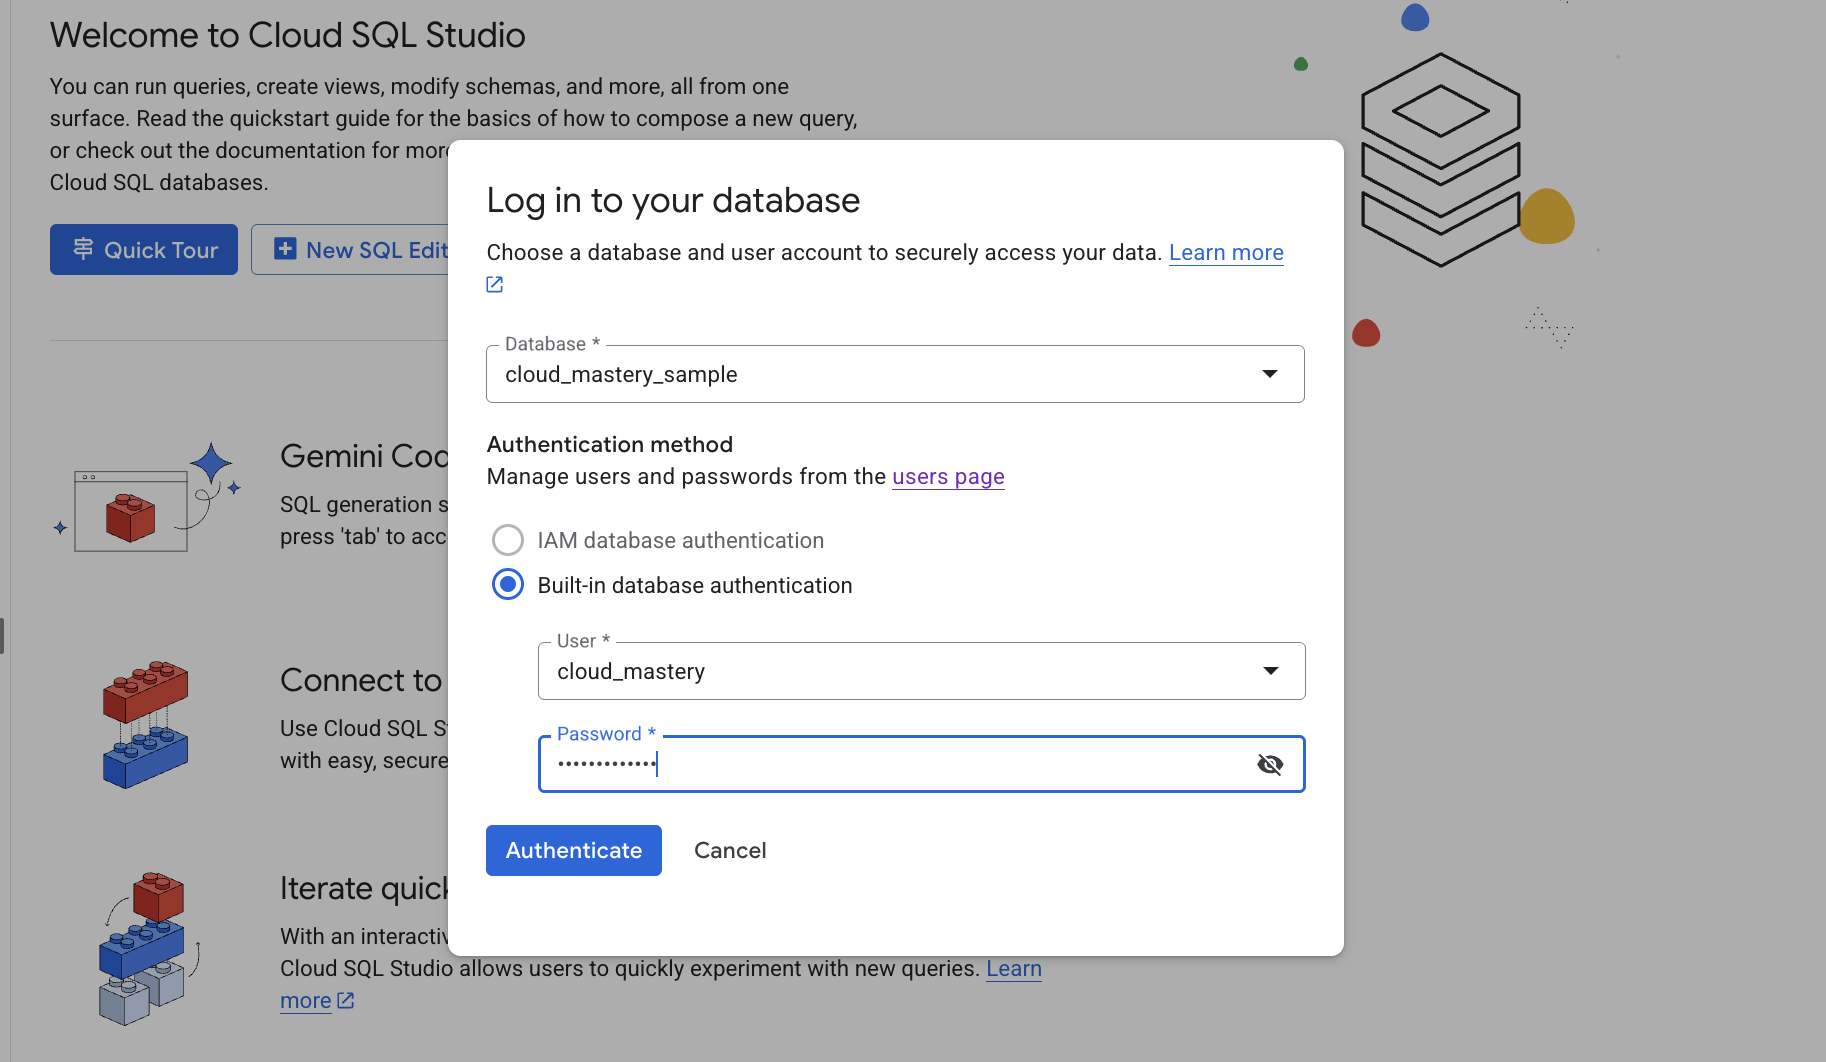
-
You should see the imported tables in the schema panel.
Step 8: Copy the Connection Details
You will need these four values when configuring GitHub secrets in a later step.
-
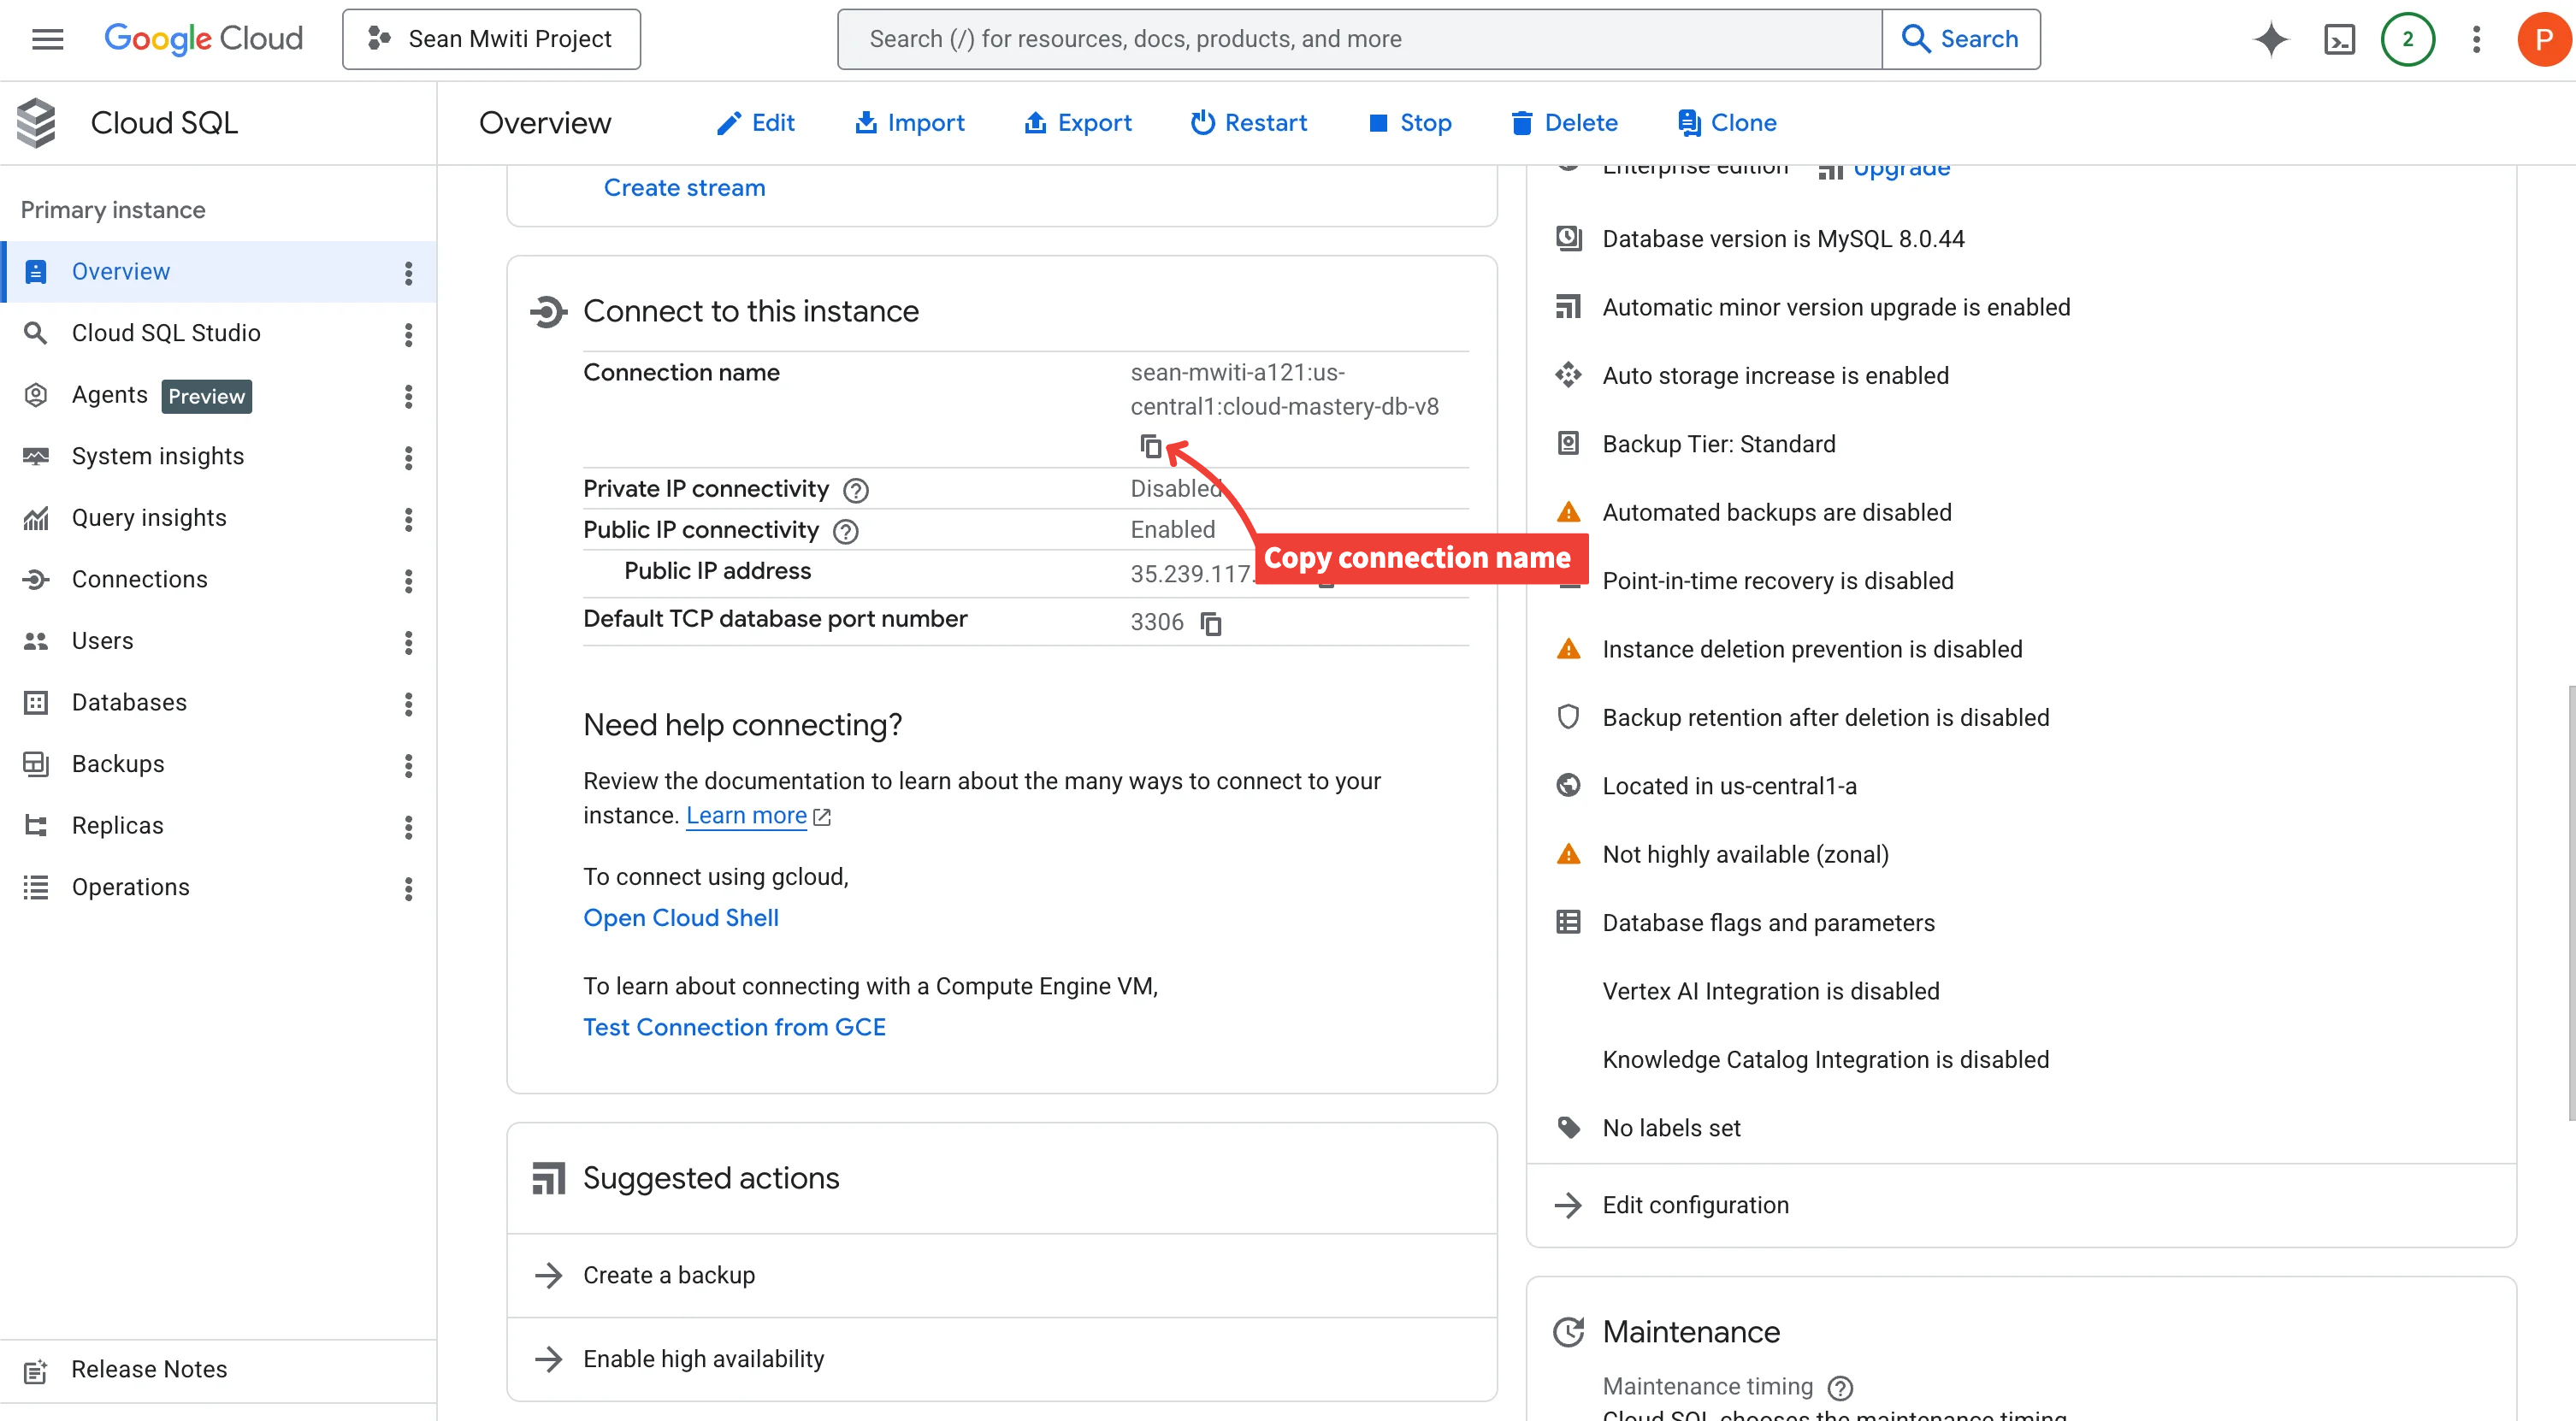
In your instance's Overview page, scroll down to Connect to this instance and copy the Connection name:
-
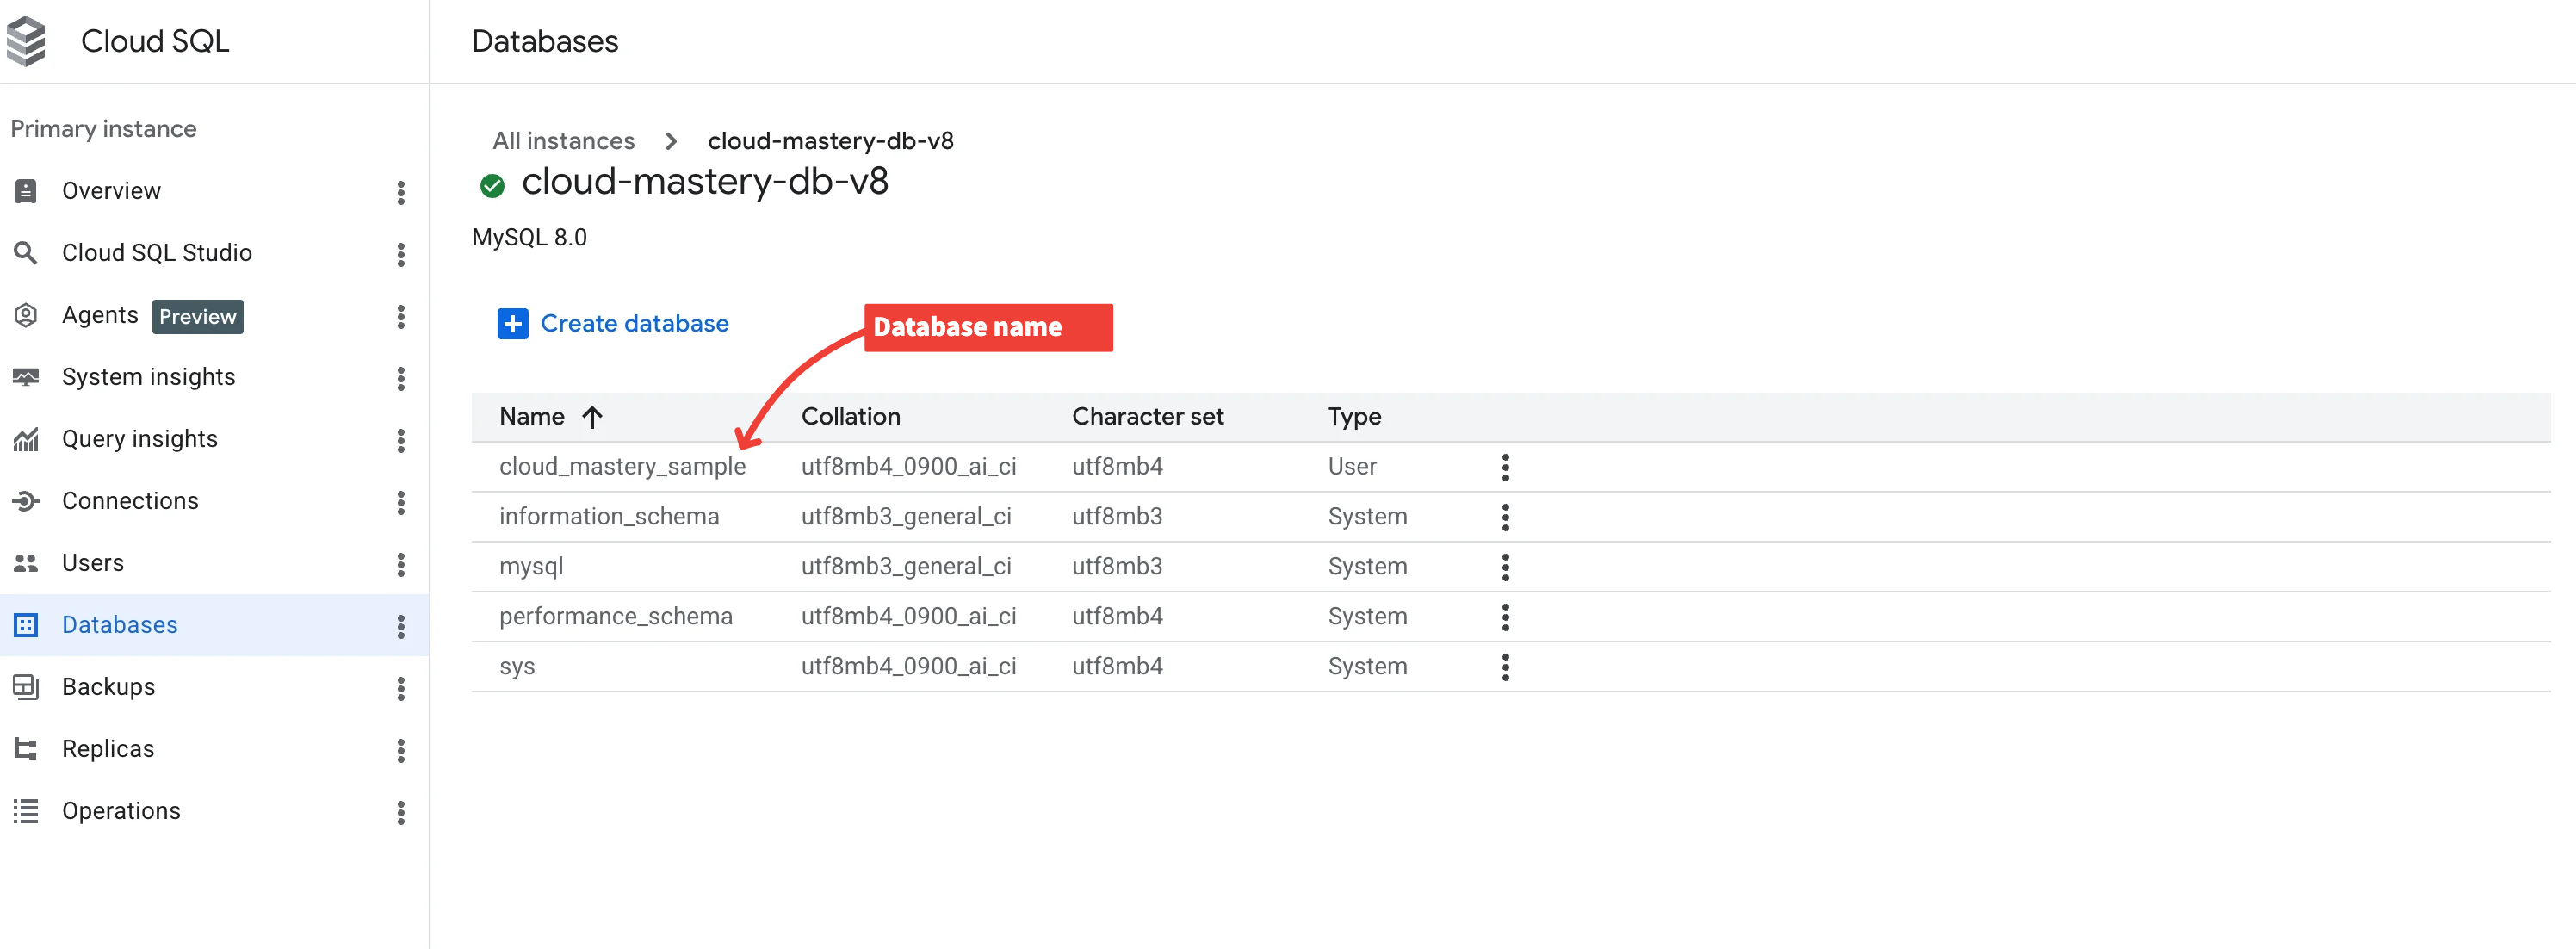
Under the Databases tab, confirm the database name is
cloud_mastery_sample. -
Keep a record of all four required parameters:
DB_NAME = cloud_mastery_sample
DB_PASS = Mastery_Cloud1
DB_USER = Cloud_Mastery
CLOUDSQL_INSTANCE_CONNECTION_NAME = [PROJECT_ID]:us-central1:cloud-mastery-db-v8
What's Next
Database setup is complete. In the next section you will fork and clone the application repository.