Trigger the Deployment Pipeline
With your GitHub secrets configured, the CI/CD pipeline is ready. You will trigger it by pushing a small change to the repository's README.md file.
How the Pipeline Works
The repository contains a pre-configured GitHub Actions workflow (.github/workflows/). The pipeline runs in two stages:
- Deploy the backend and frontend applications to Cloud Run
- Deploy the four Cloud Functions (checkout and supporting services)
Every push to the main branch automatically triggers this workflow using the secrets you set up.
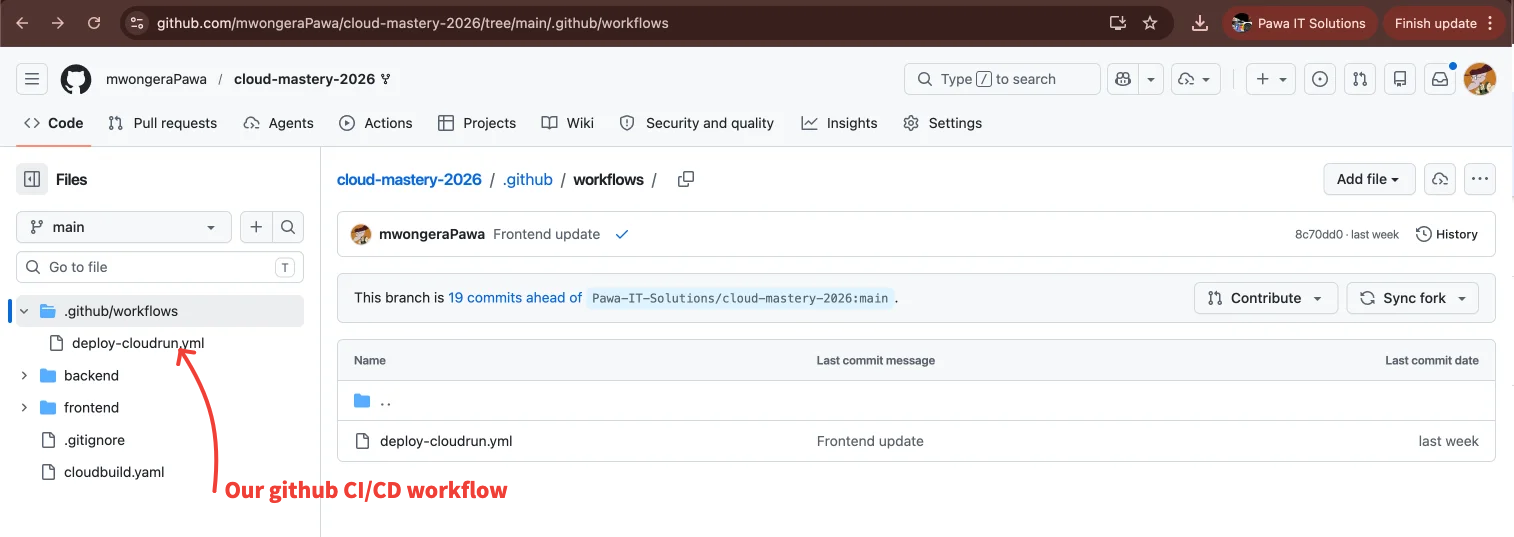
Step 1: Make a Change to README.md
-
Open the
README.mdfile at the root of yourcloud-mastery-ecommerce-2026directory in your IDE. -
Add any small change — for example, a new line of text. The content of the change does not matter.
-
Save the file.
Step 2: Commit and Push
Run the following commands in your terminal from inside the project directory:
# Make sure you are in the right directory
cd cloud-mastery-ecommerce-2026

# Stage all changes
git add .

# Commit with a message
git commit -m "Trigger deployment pipeline"

# Push to the main branch to trigger the workflow
git push origin main
Note
If your default branch is named master instead of main, replace main with master in the push command.
Tip
The pipeline deploys the backend first, then the frontend, then the Cloud Functions. Go to the Actions tab in your GitHub repository to watch the live logs. Total run time is typically 7–12 minutes.
What's Next
Once the pipeline completes successfully, all services will be live on Cloud Run. In the next section you will verify the deployed services and access the running application.