Setup GitHub — Fork & Clone
In this section you will fork the Cloud Mastery 2026 repository to your GitHub account, clone it to your local machine, and open it in your IDE.
Step 1: Fork the Repository
Forking creates a personal copy of the project under your own GitHub account. This lets you make changes without affecting the original codebase. The repo contains both the backend and frontend applications you will be deploying.
-
Navigate to the source repository: https://github.com/Pawa-IT-Solutions/cloud-mastery-ecommerce
-
Locate the Fork button at the top-right of the page (next to the Star button). Click the dropdown and select Create a new fork.

-
On the Create a new fork page configure the following:
Field Value Owner Your personal GitHub username (e.g., eddie582)Repository Name cloud-mastery-ecommerceCopy the main branch only ✅ Keep checked -
Click the green Create fork button.
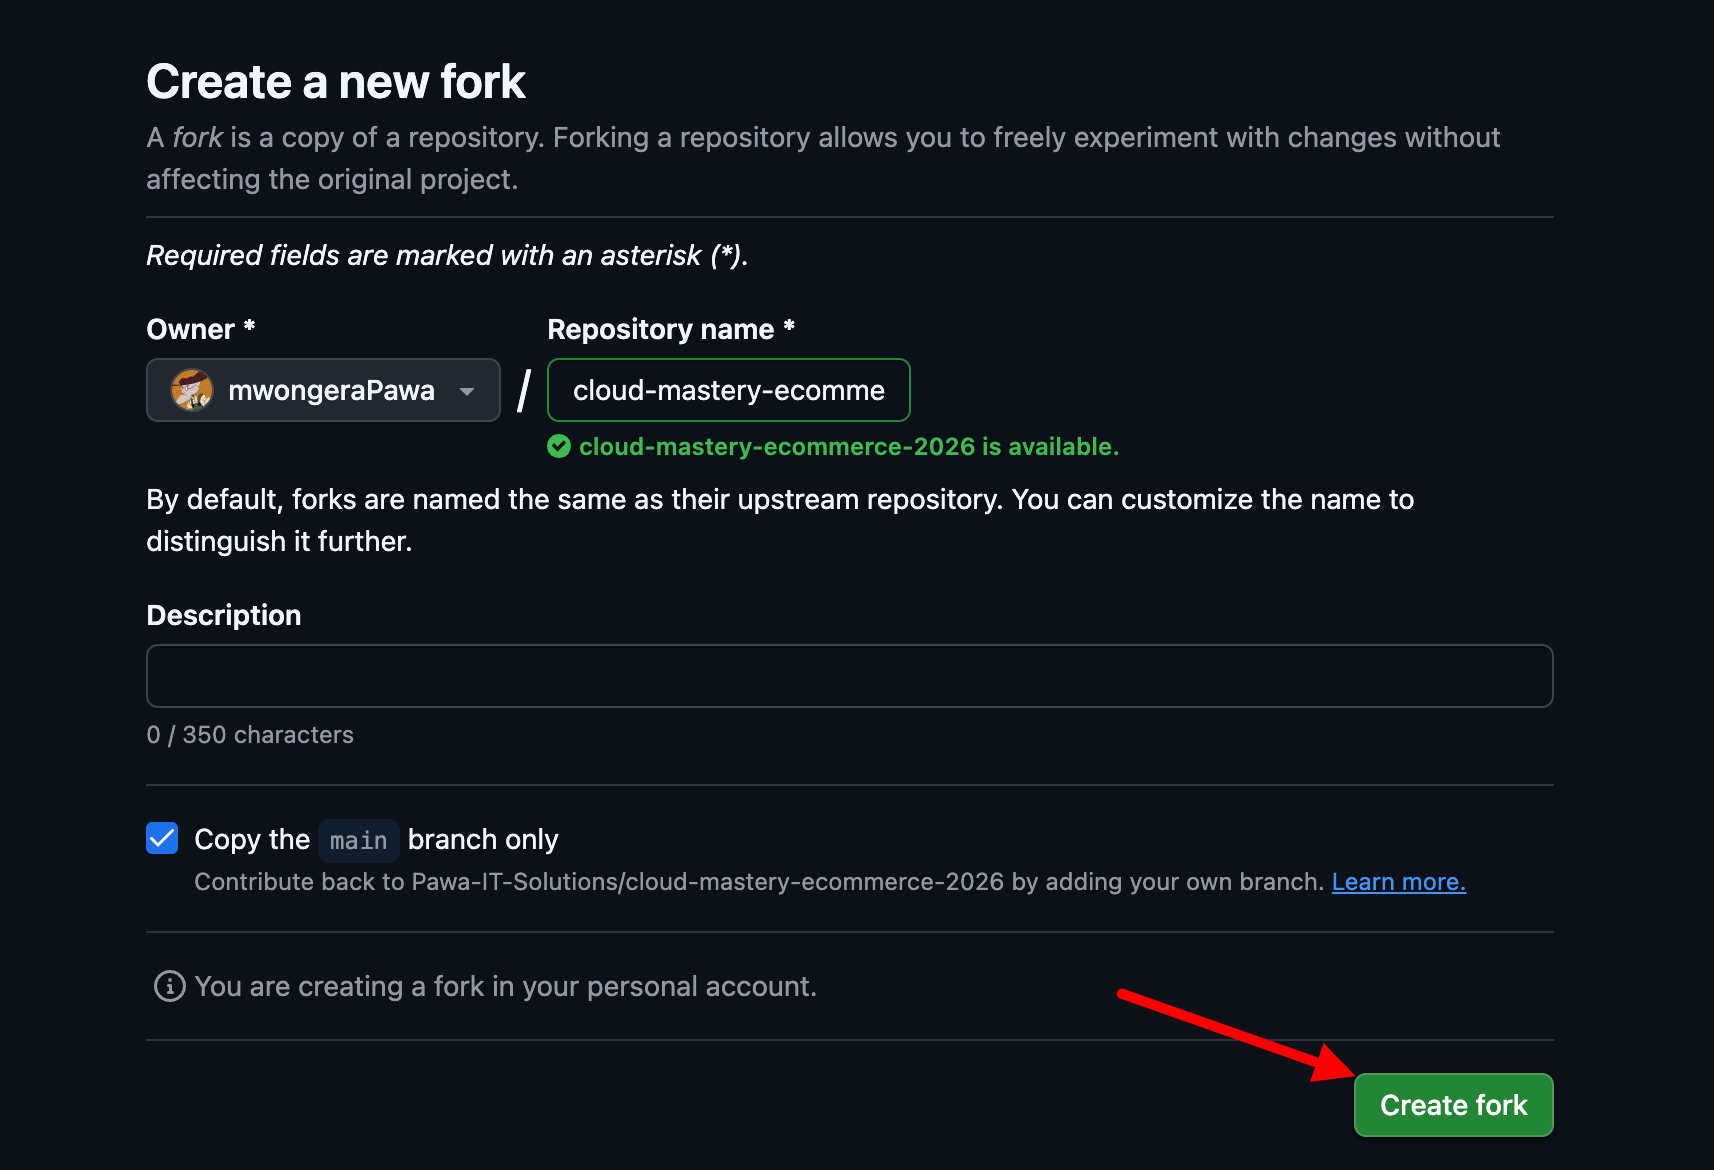
After a moment you will be redirected to your own copy. The top-left should now read
your-username/cloud-mastery-ecommerce.
Step 2: Clone the Repository
Now download the forked repository to your local machine.
-
On your forked repository page, click the green <> Code button and copy the HTTPS or SSH URL.
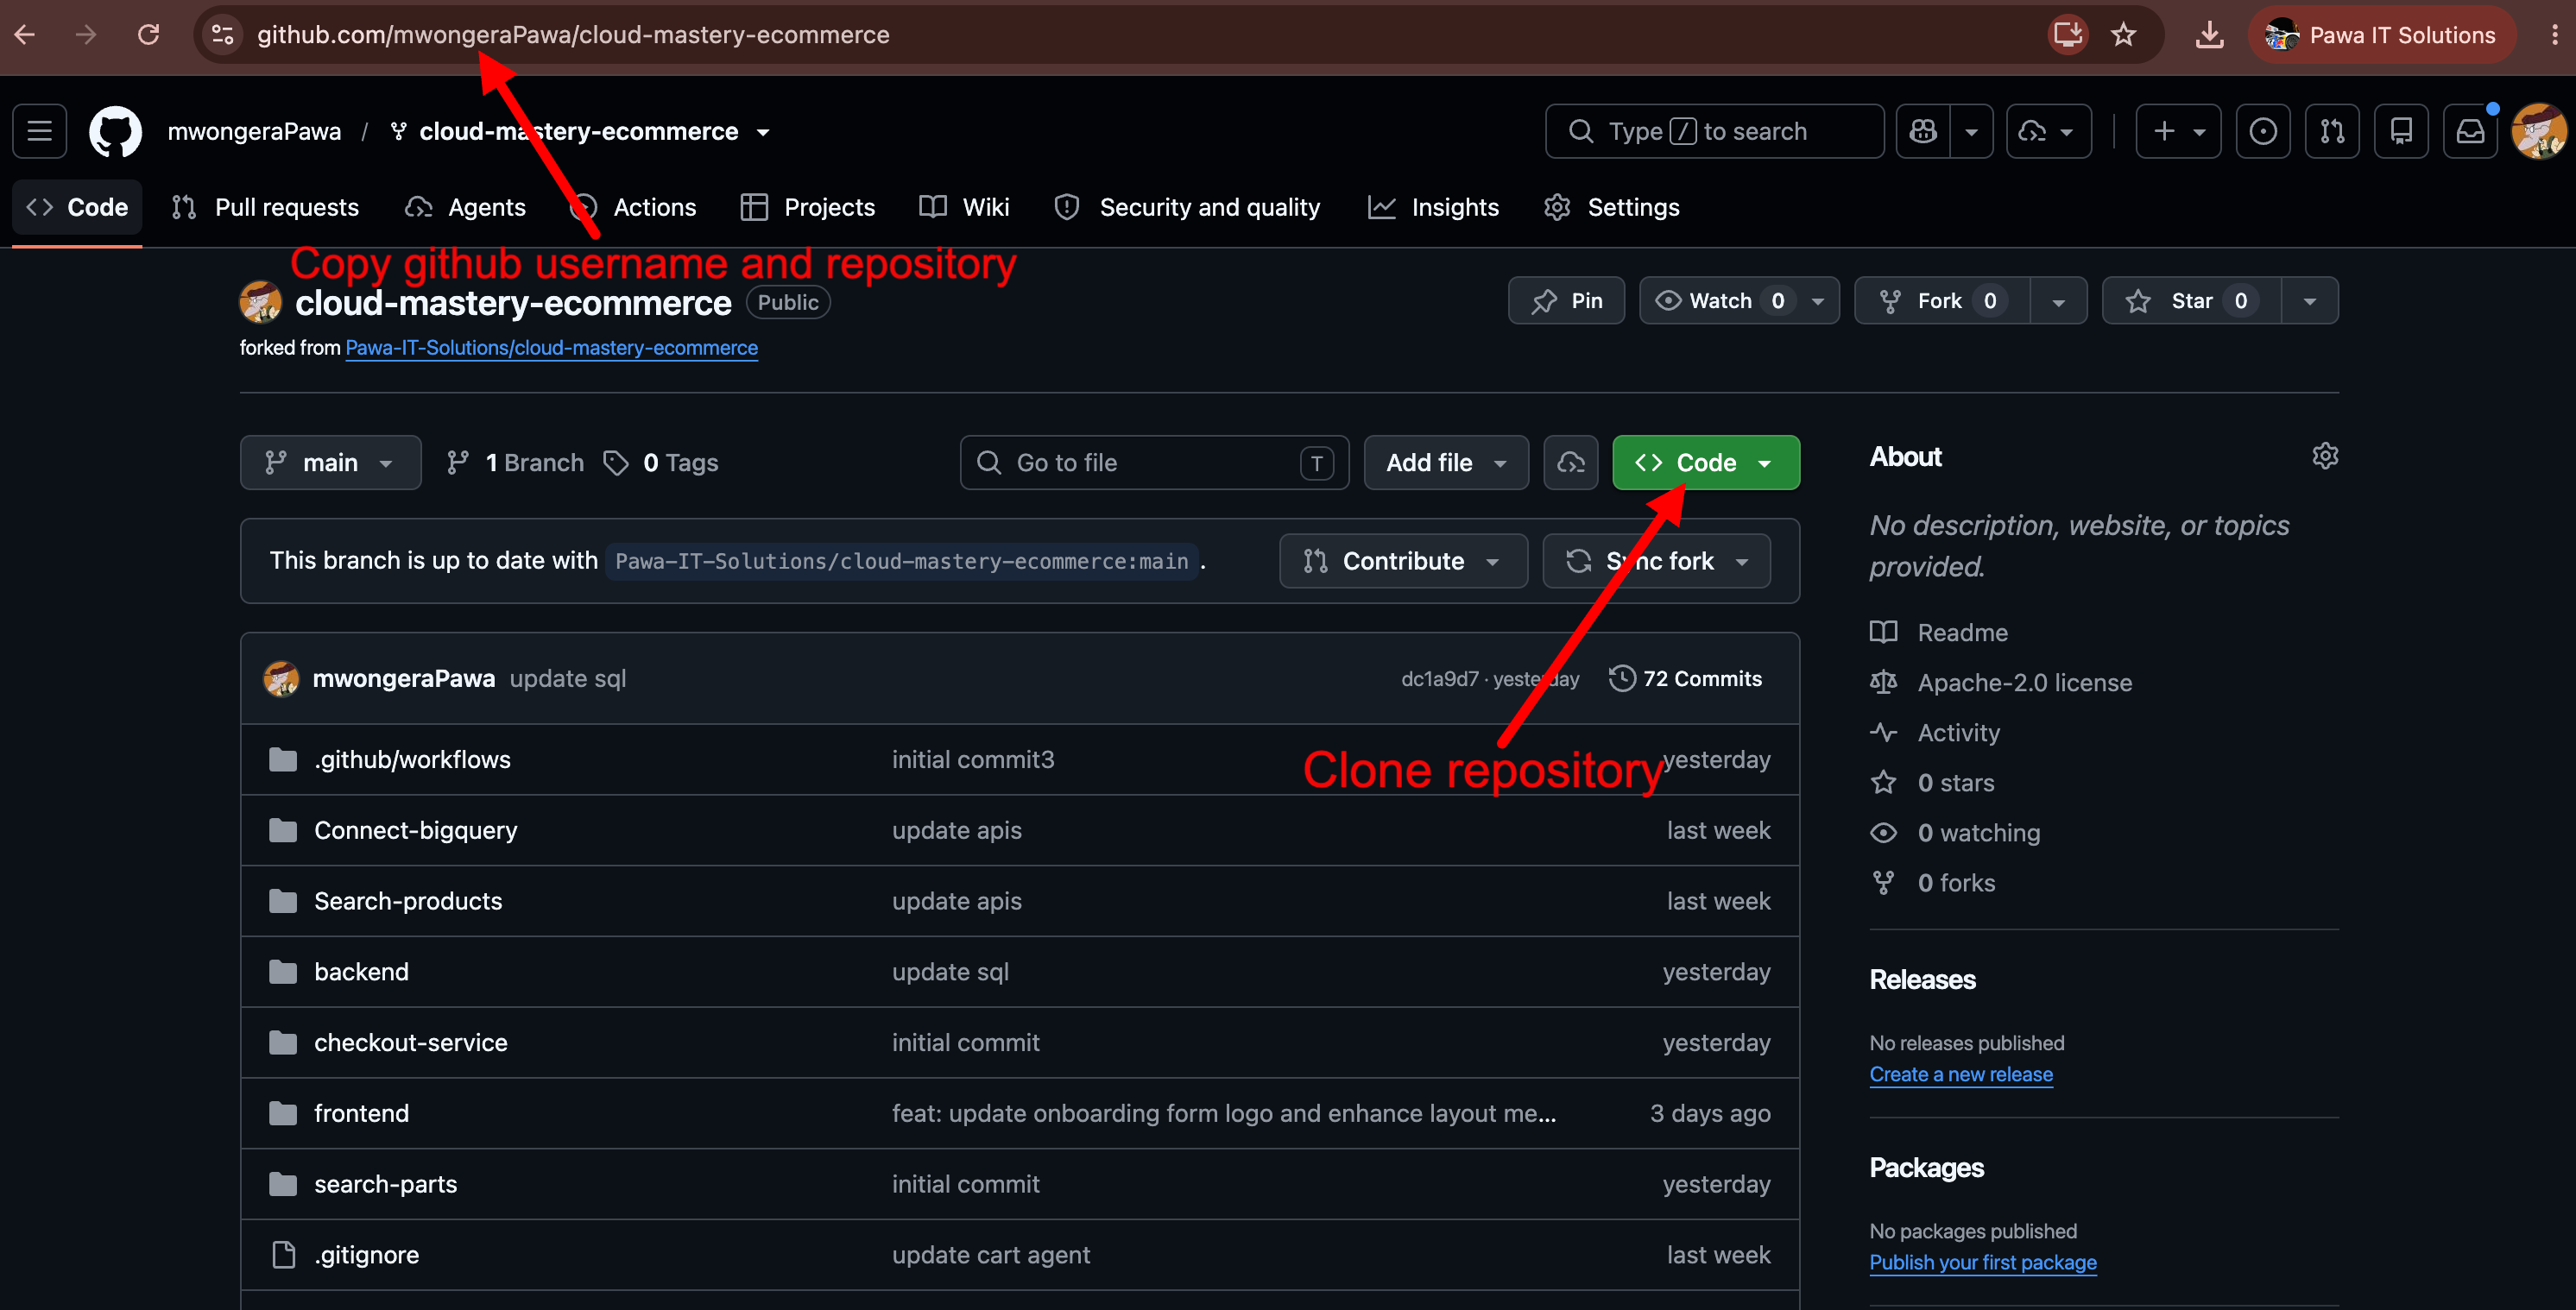
-
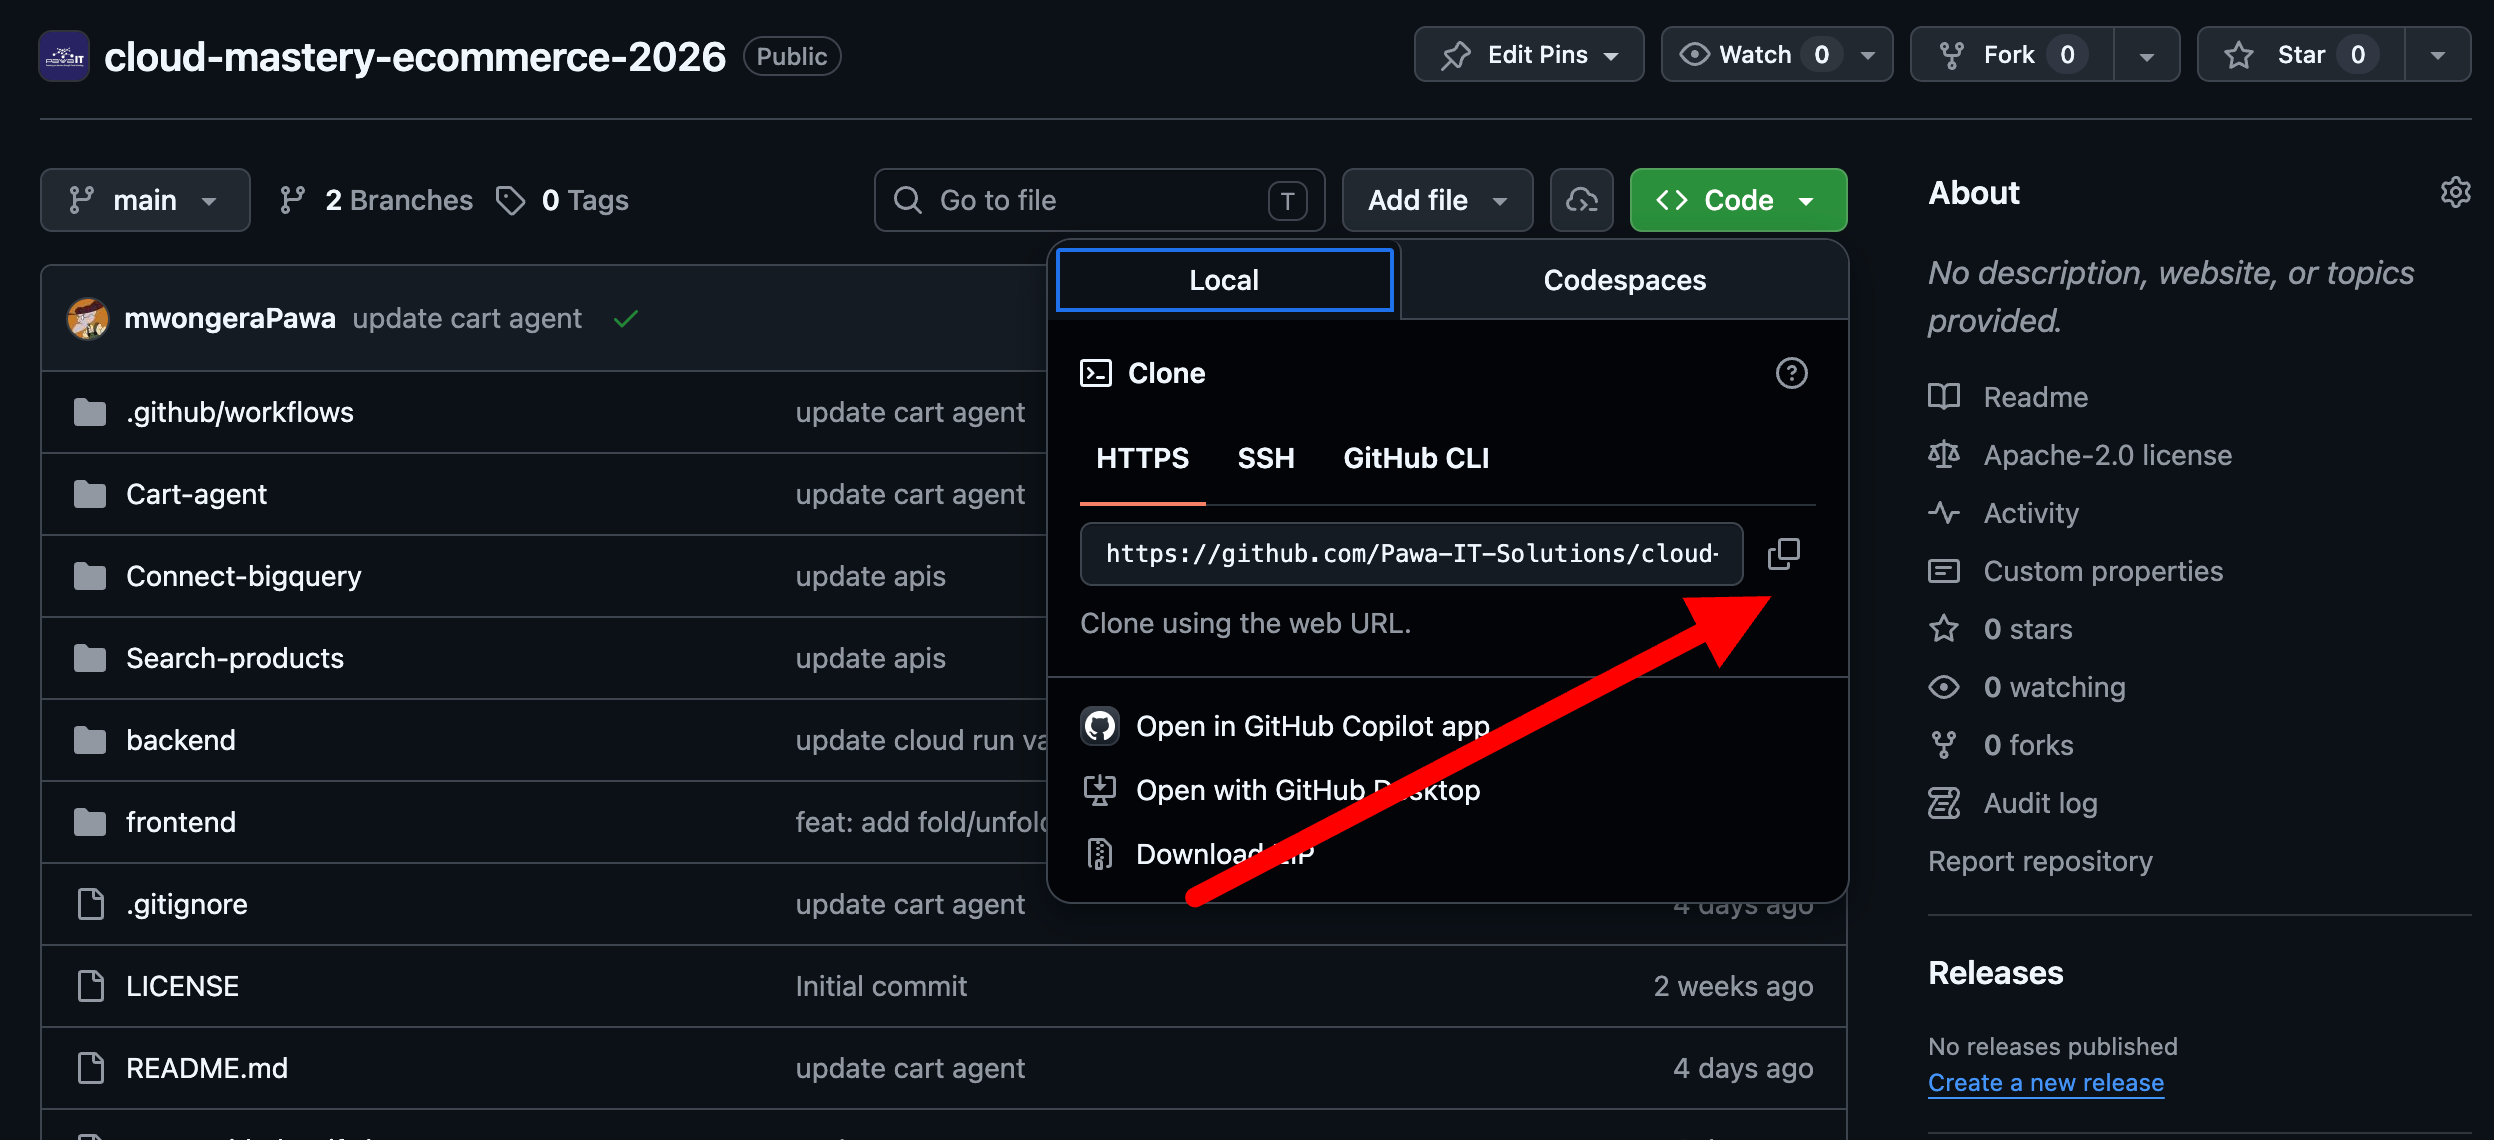
Open your terminal or command prompt and run the following command. Replace the URL with the one you copied from your fork:
-
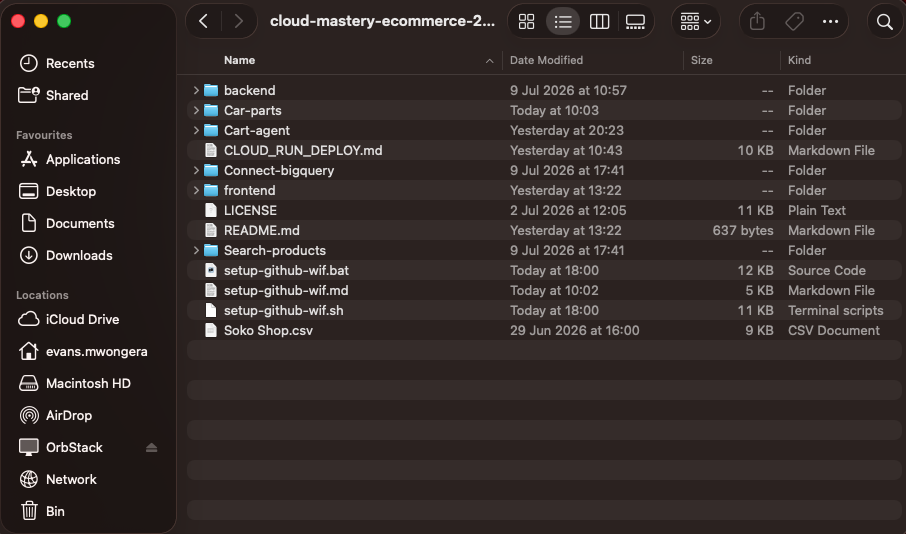
Once the clone finishes, navigate into the project directory:
Step 3: Open the Project in Your IDE
Open the cloud-mastery-ecommerce folder in your preferred IDE — VS Code or Antigravity IDE.
Note
The repository contains both the /backend (NestJS) and /frontend (Next.js) applications, as well as the setup-github-wif.sh script you will use in the next section.
Step 4: Note Your GitHub Repository Identifier
You will need this value when setting up Workload Identity Federation in the next section:
What's Next
Repository is ready. In the next section you will set up Workload Identity Federation and configure the GitHub Actions secrets that power the CI/CD pipeline.