Step 1: Initial Setup
In this step, you will log into the CX Agent Studio, select your project, and create the SokoAI agent application.
Access Vertex AI Agent Builder
-
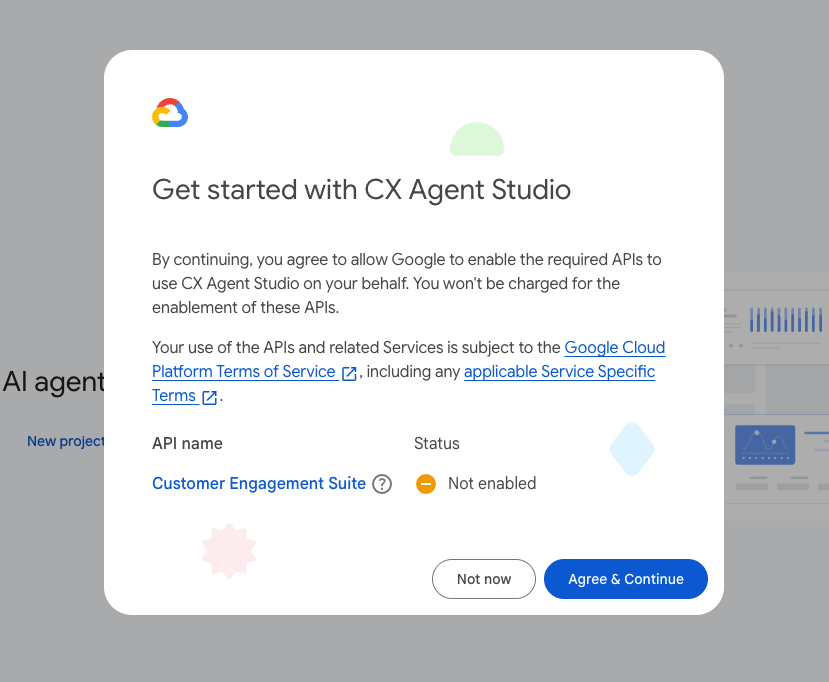
Log in to the CX Agent Studio console using your training GCP account from Session 1. Click Agree and Continue.
-
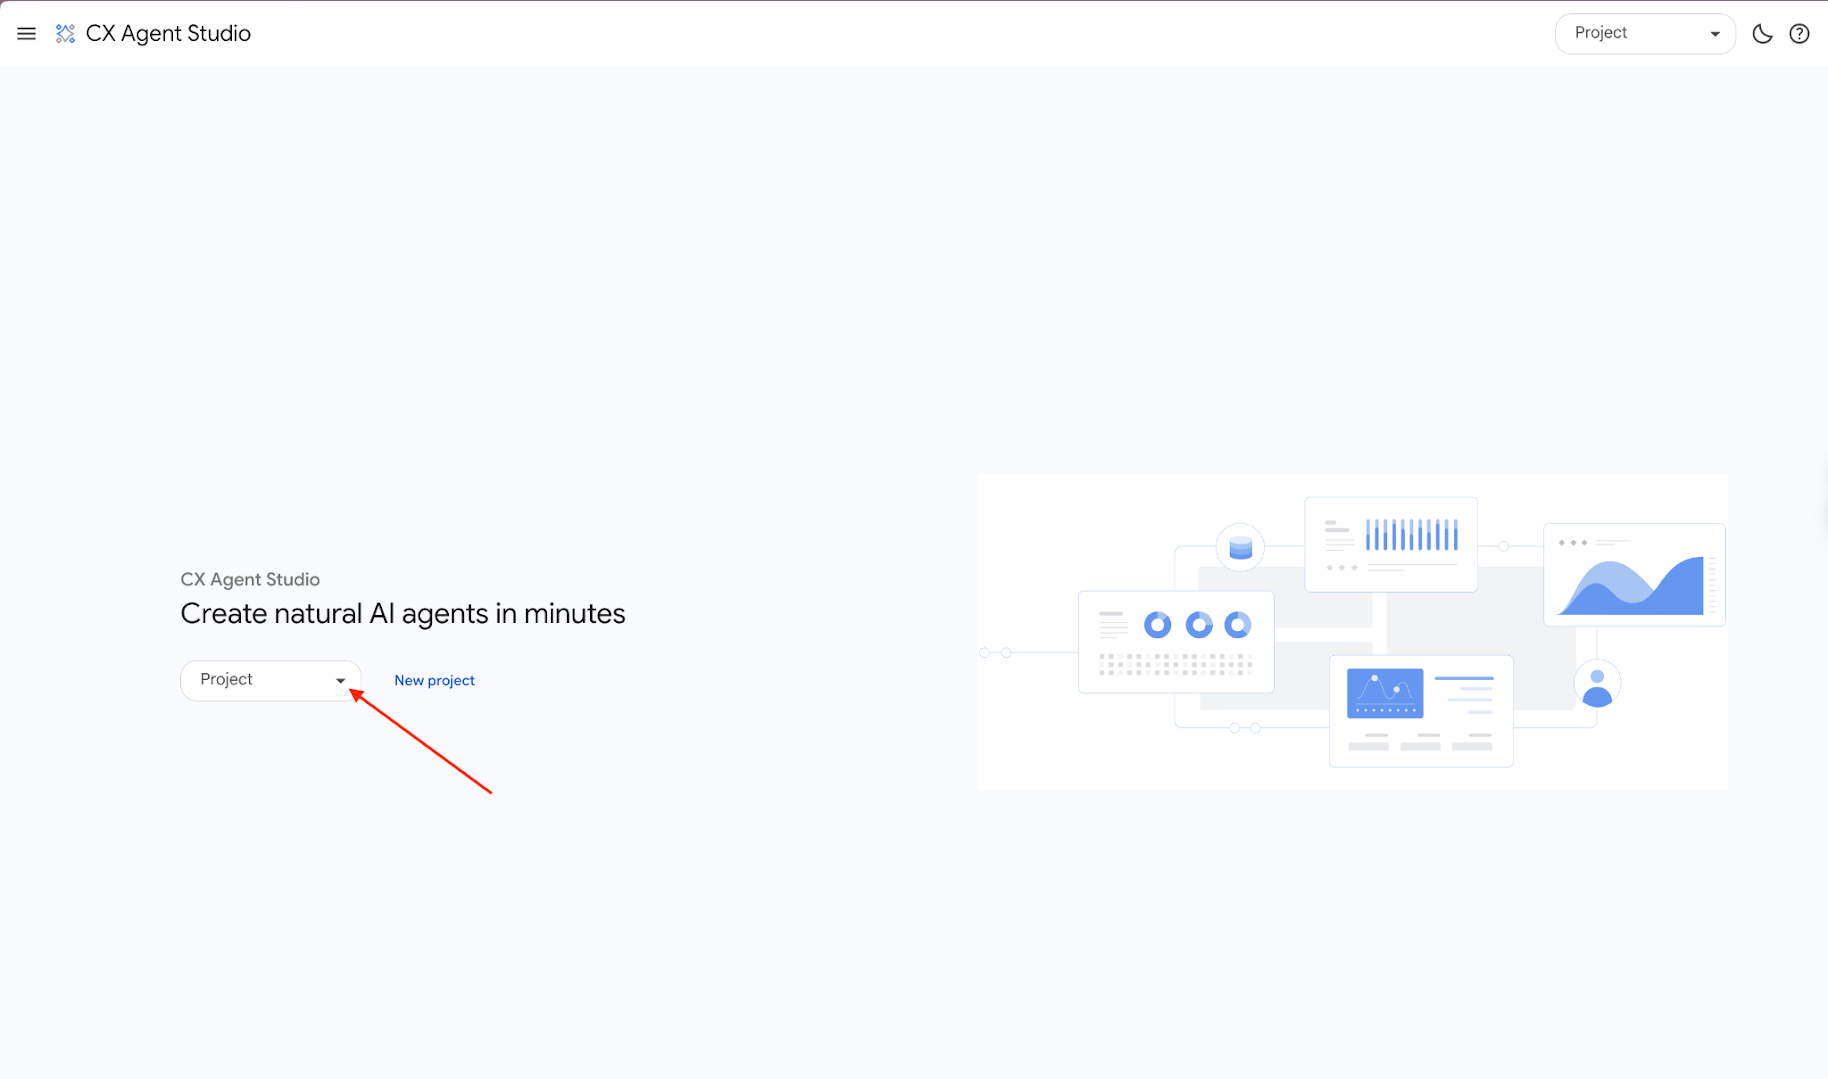
You will see a page like this:
-
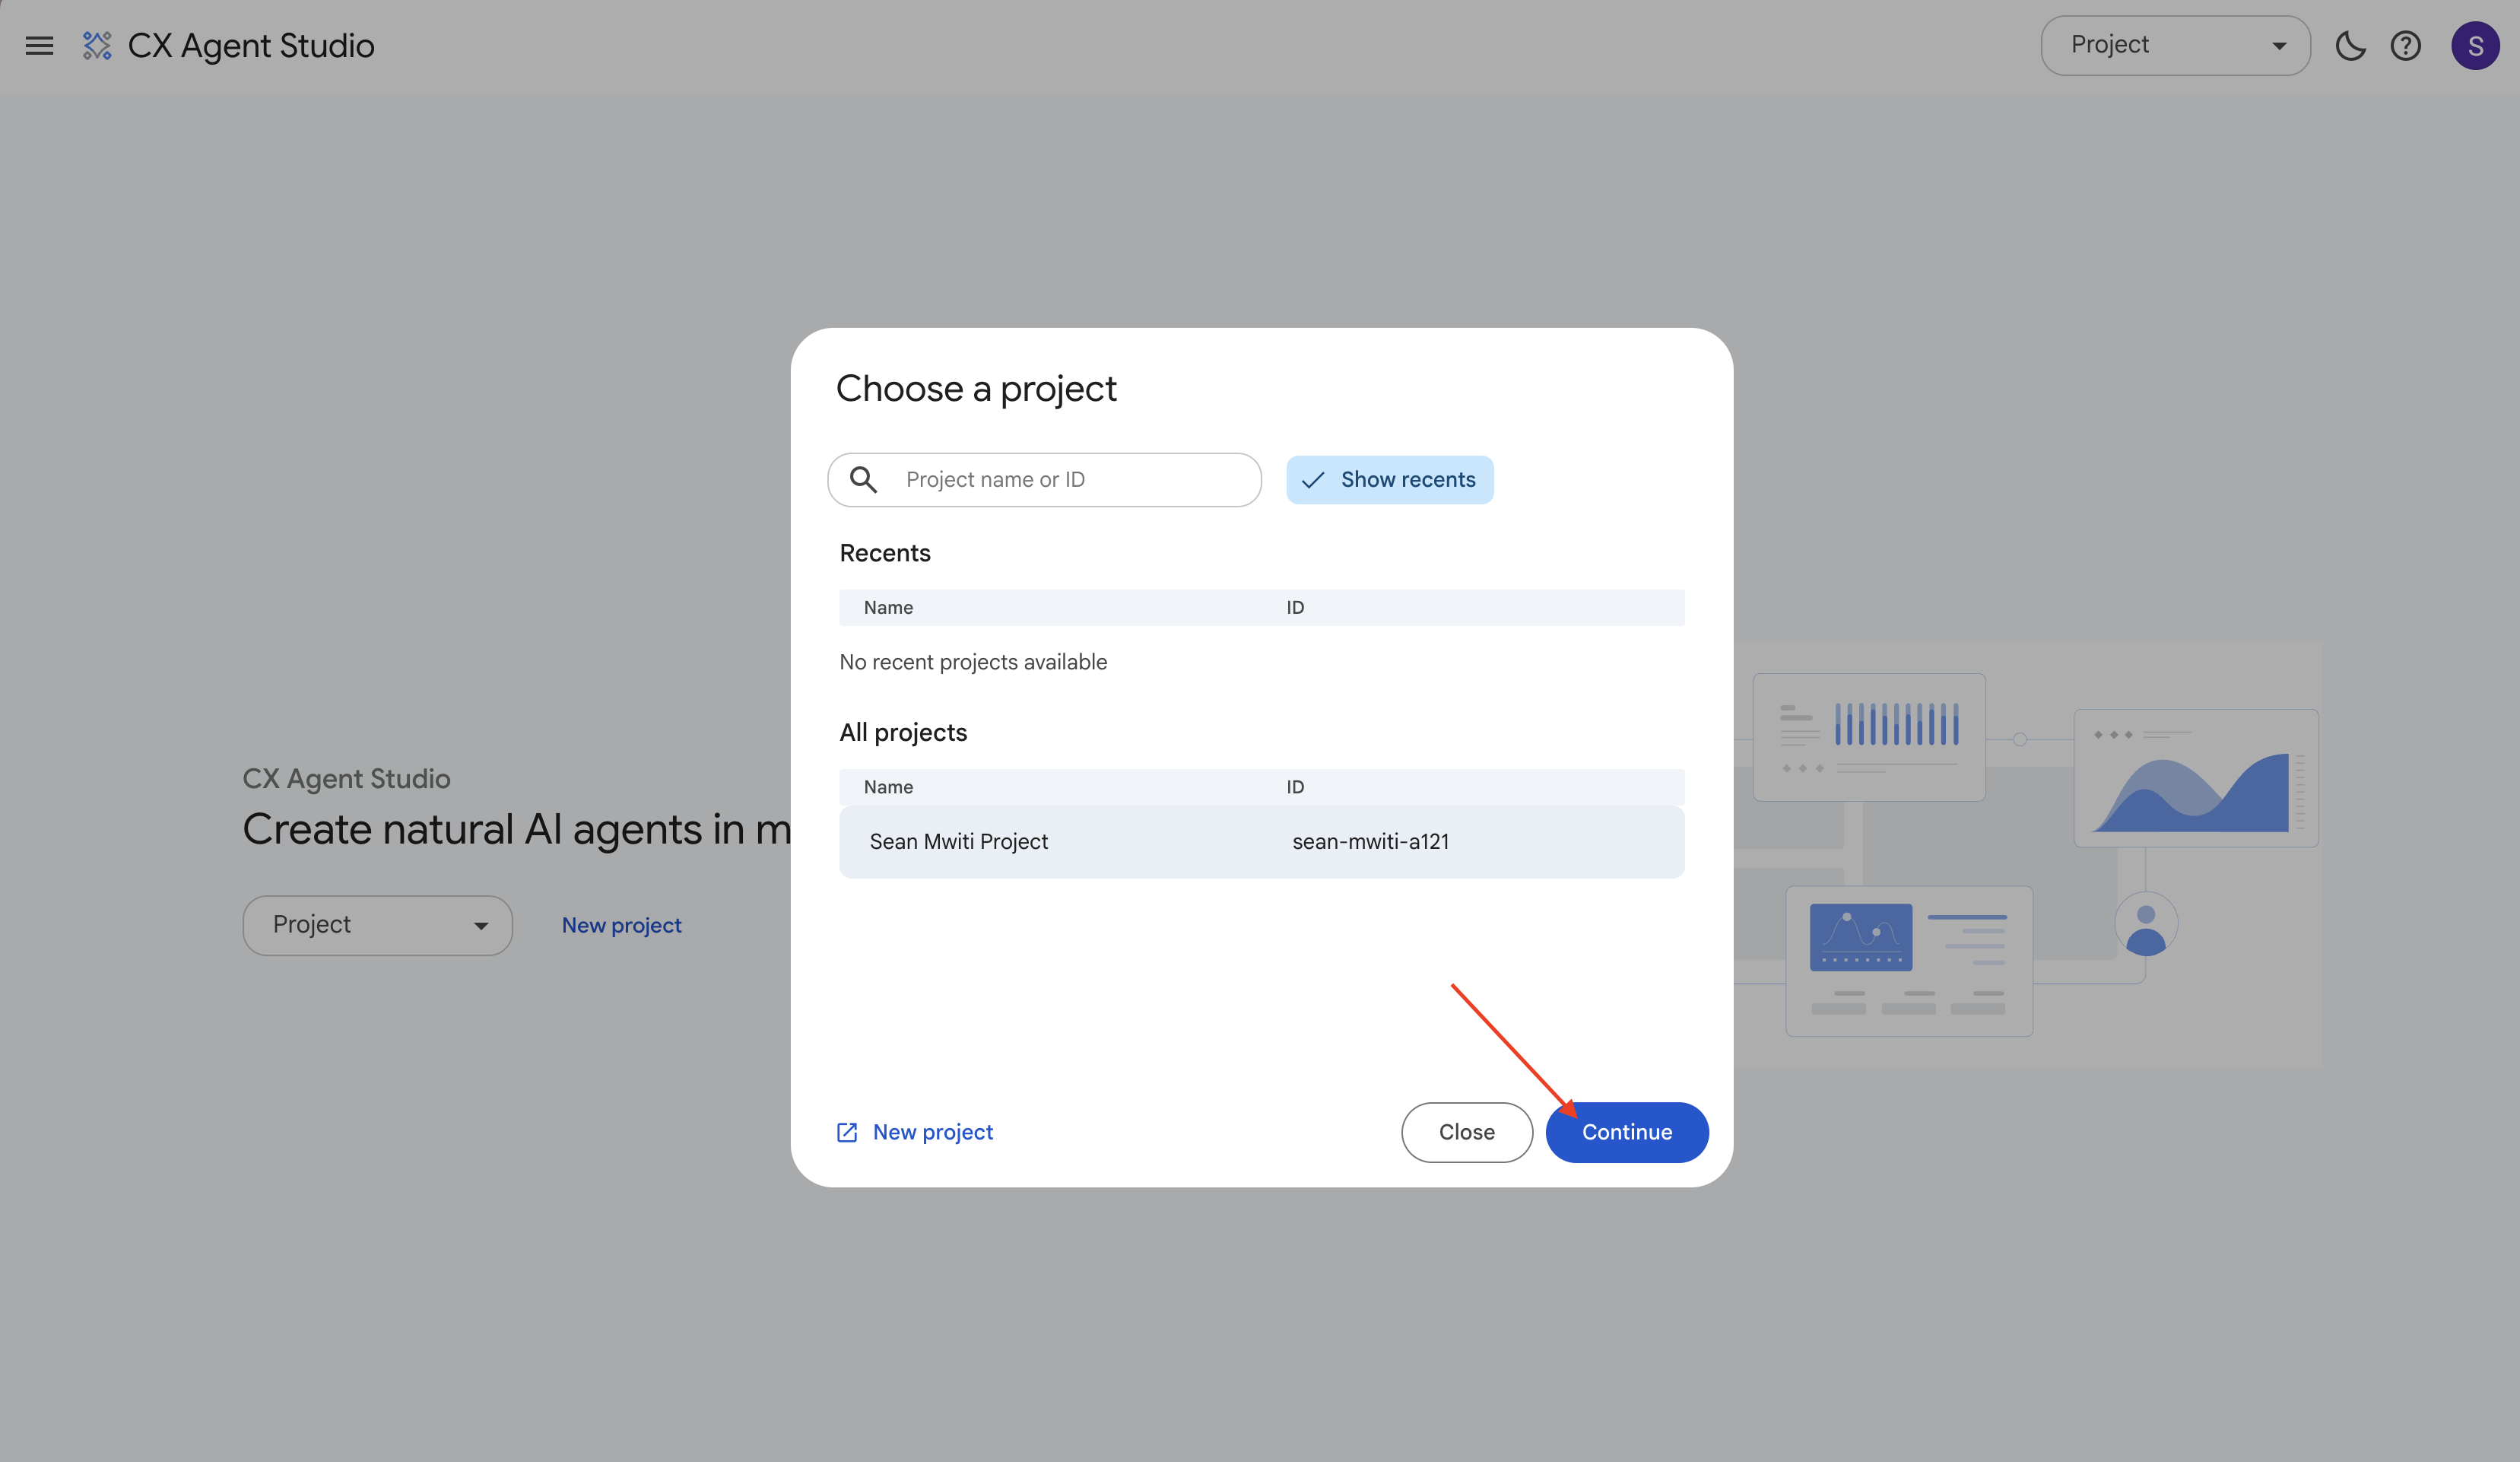
Select your project. Click the project dropdown at the top and select View all projects.
-
Find and select your assigned project (e.g. sean mwiti), then click Continue.
Create the AI App
-
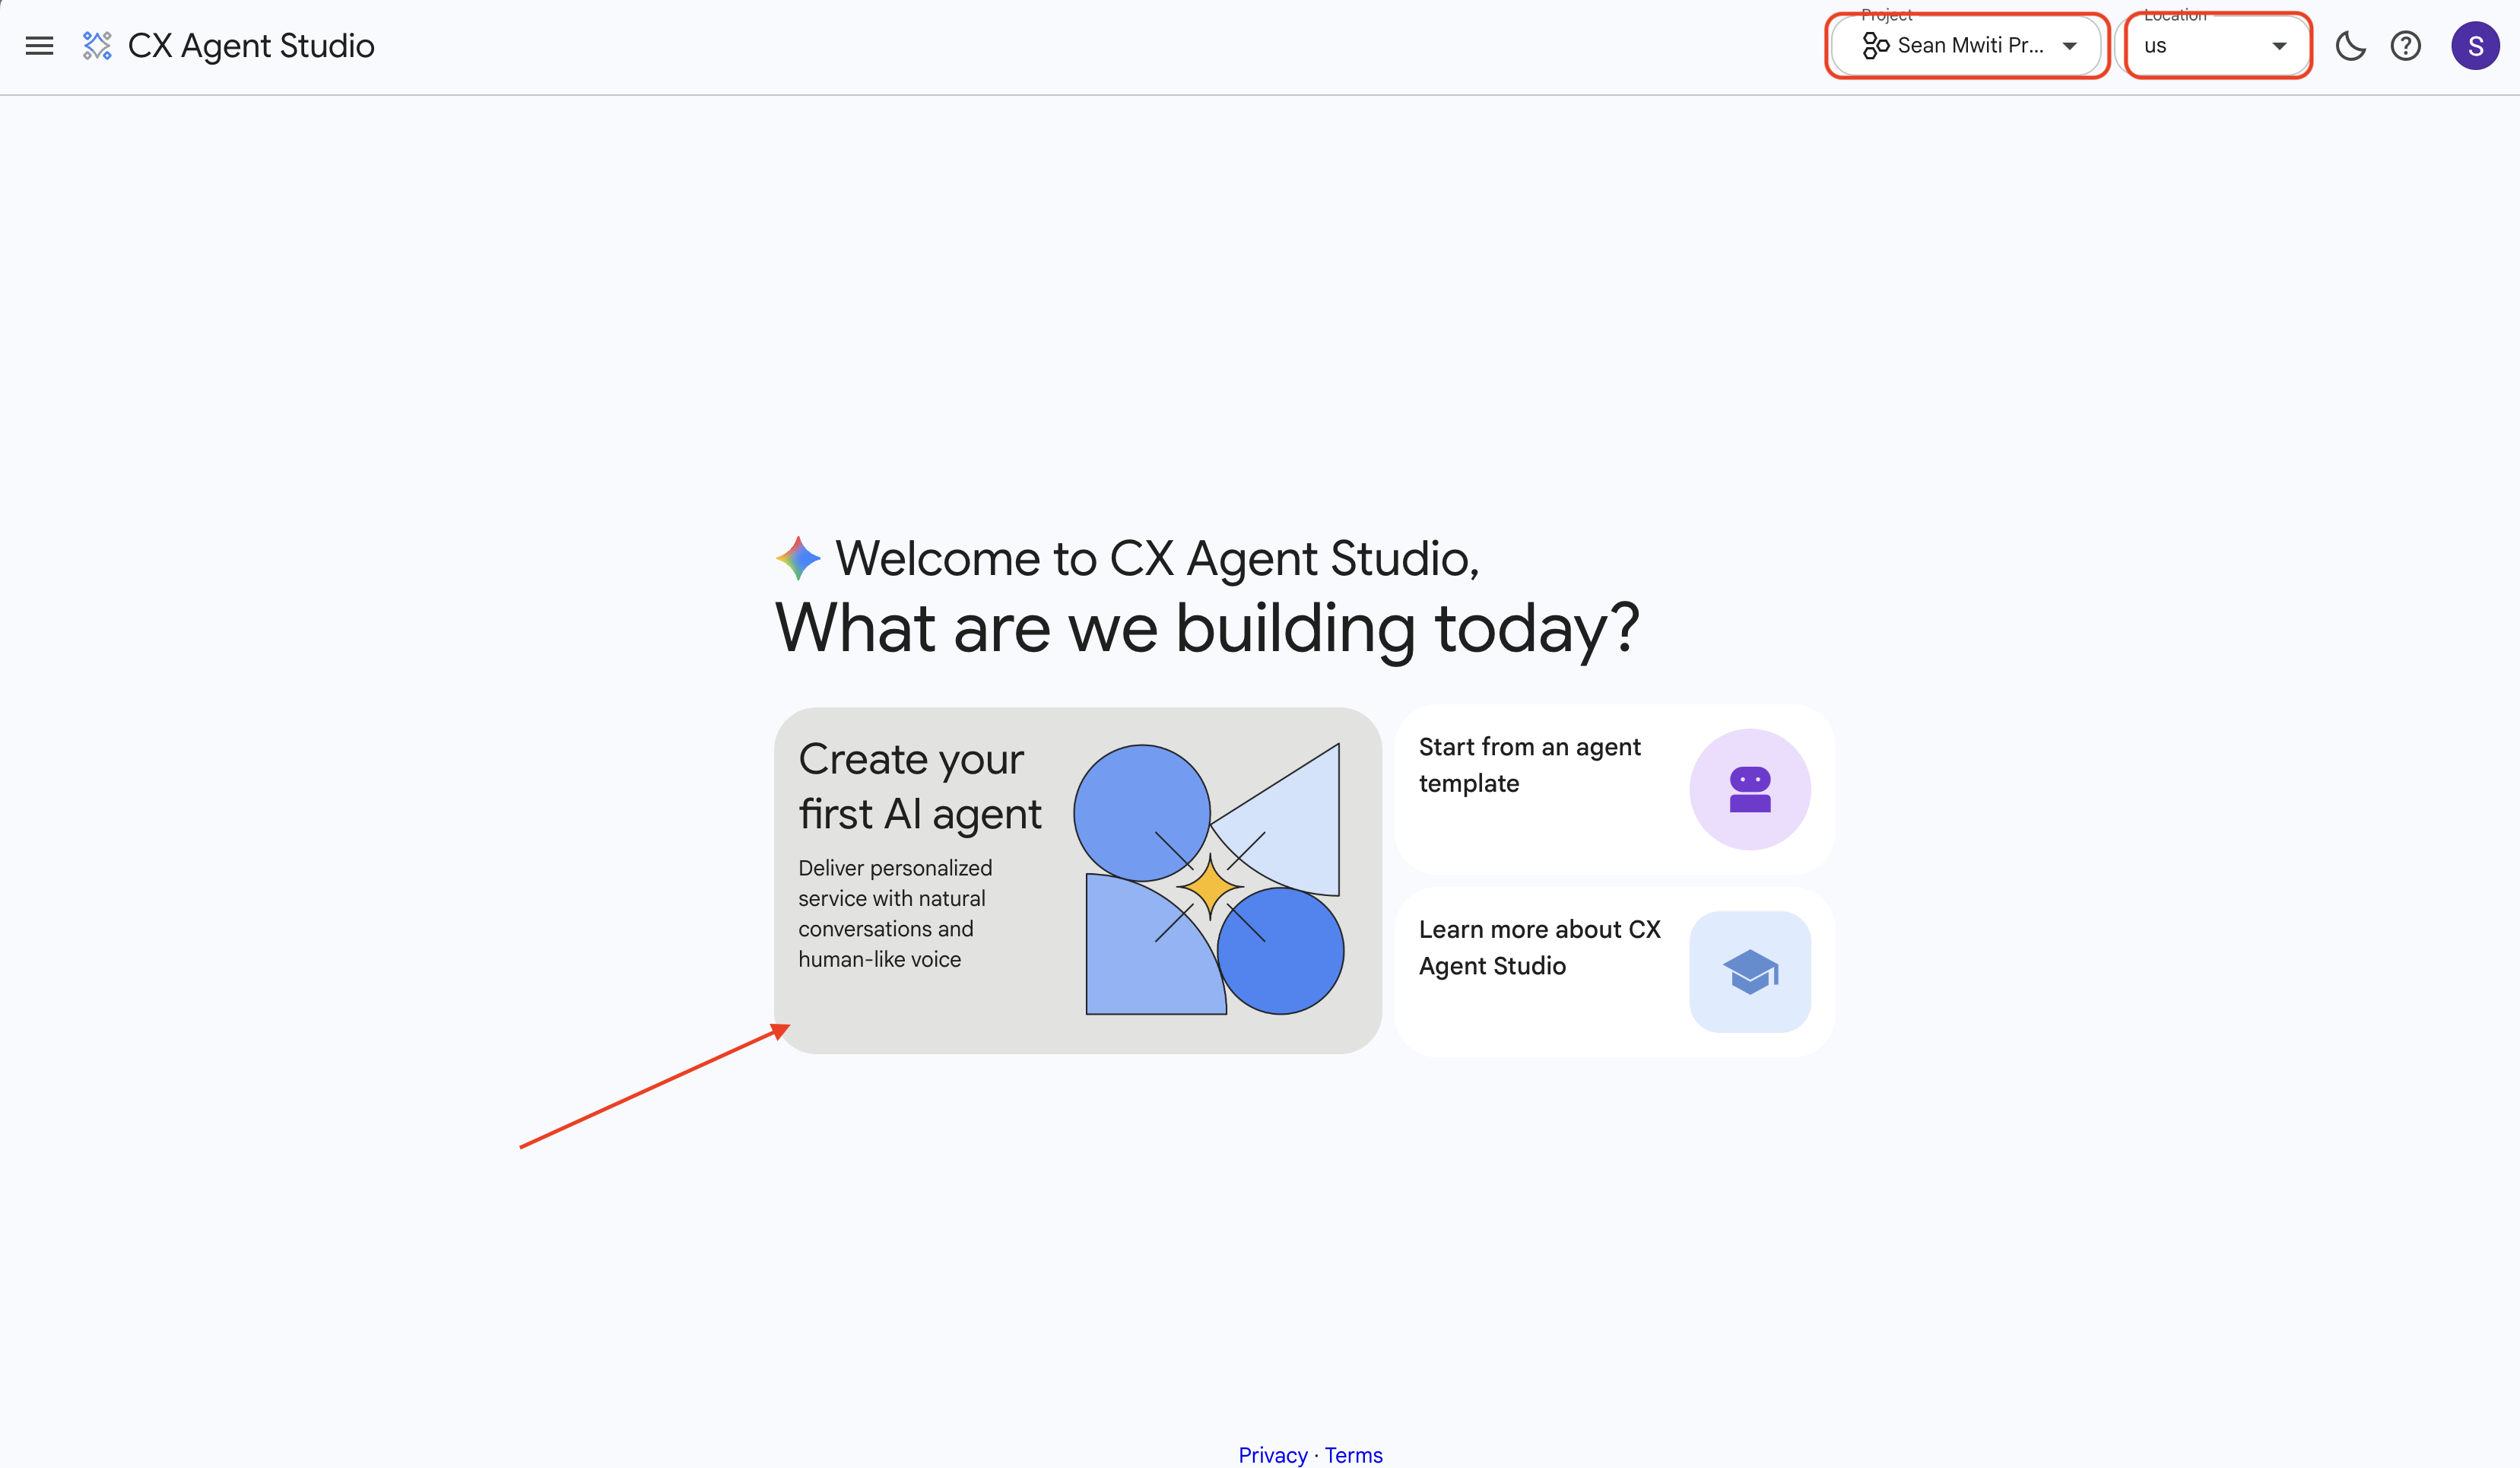
In the middle of the screen, locate the section titled Create your first AI agent and click on it.
Note
Ensure the region defaults to US (Multiple regions) before proceeding.
-
Enter a name for your agent — use
sokoai-agent— then press Create.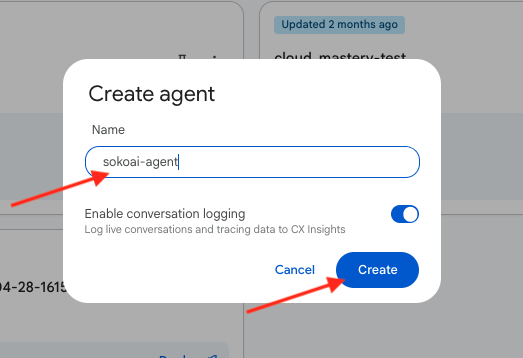
-
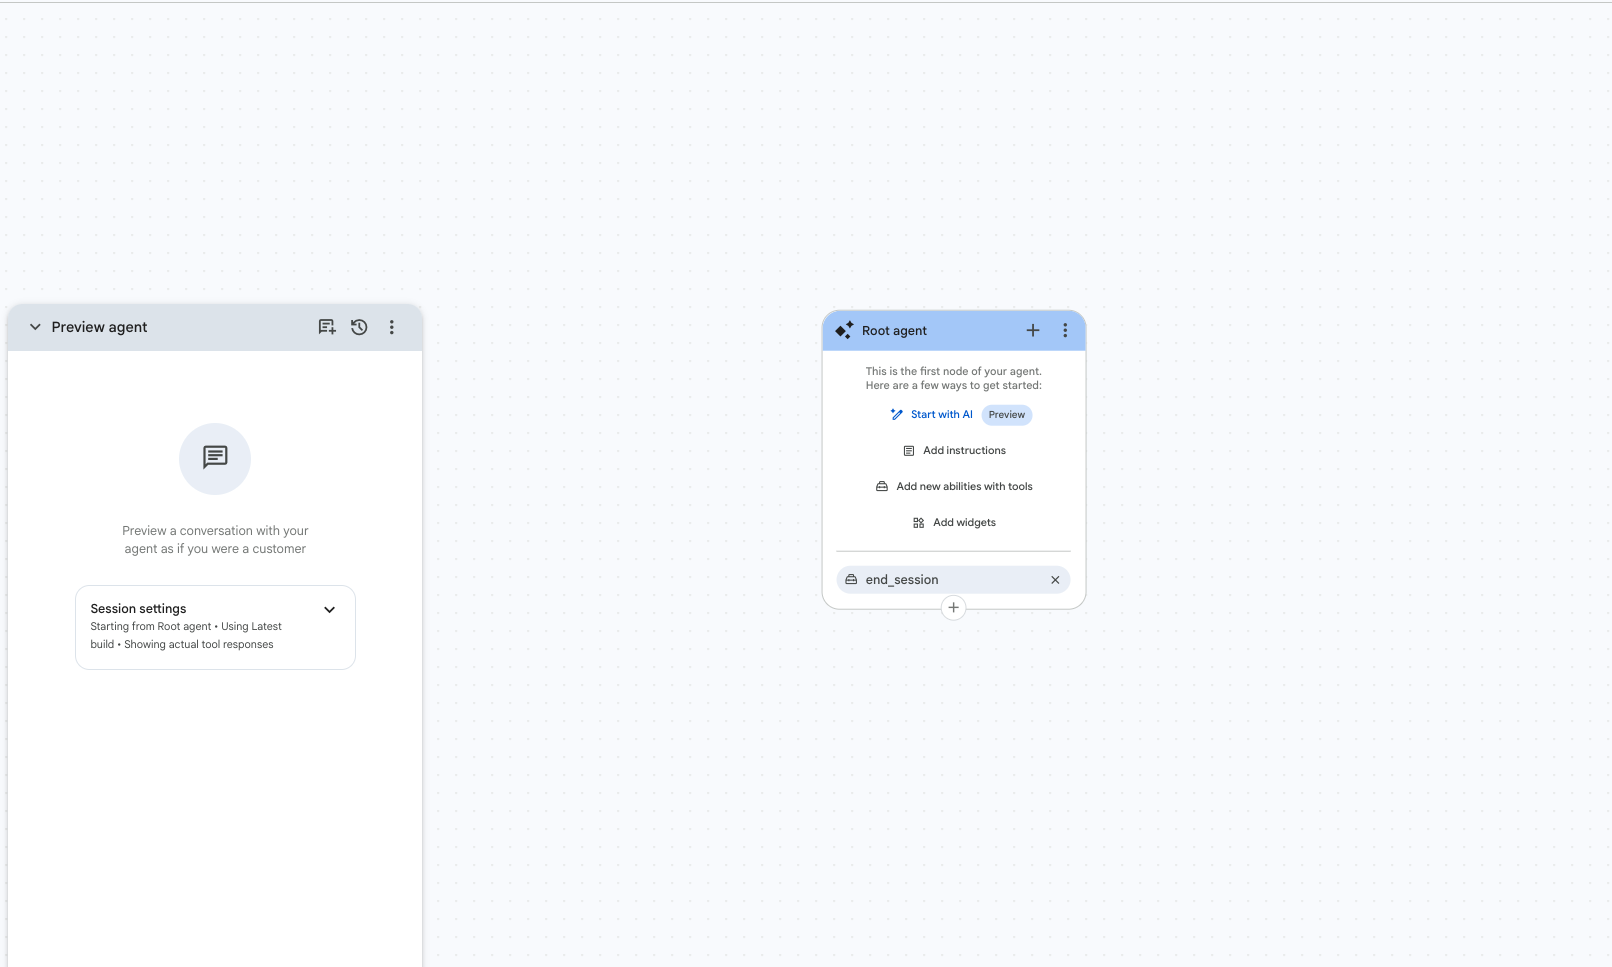
Once the agent is created, click on it to select it.
-
This opens the Agent Builder page where you will configure all components.
Step 1 Complete
Your SokoAI agent application is now created. In the next step, you will build the root playbook and the four specialist sub-agents.